The Slab
- Michael
- Slab , Insulation , Hydronics , Heating
- August 13, 2026
Table of Contents
From the get go of this build, I’d been telling our builder that the foundation and bones is where I wanted to get right and that almost everything above the slab can be changed or fixed later. What’s under the concrete is under it forever, so I took a bunch of time off work and got my hands dirty and focused on this stage.
I did all the trenching, electrical conduit runs, coordination between trades, inspections and organised material supply myself. Whilst it made for some long days, this combination worked better than I expected and allowed me to catch issues early which resulted in a better-quality slab for meaninfully less money.
Site Cut & Lessons Learned
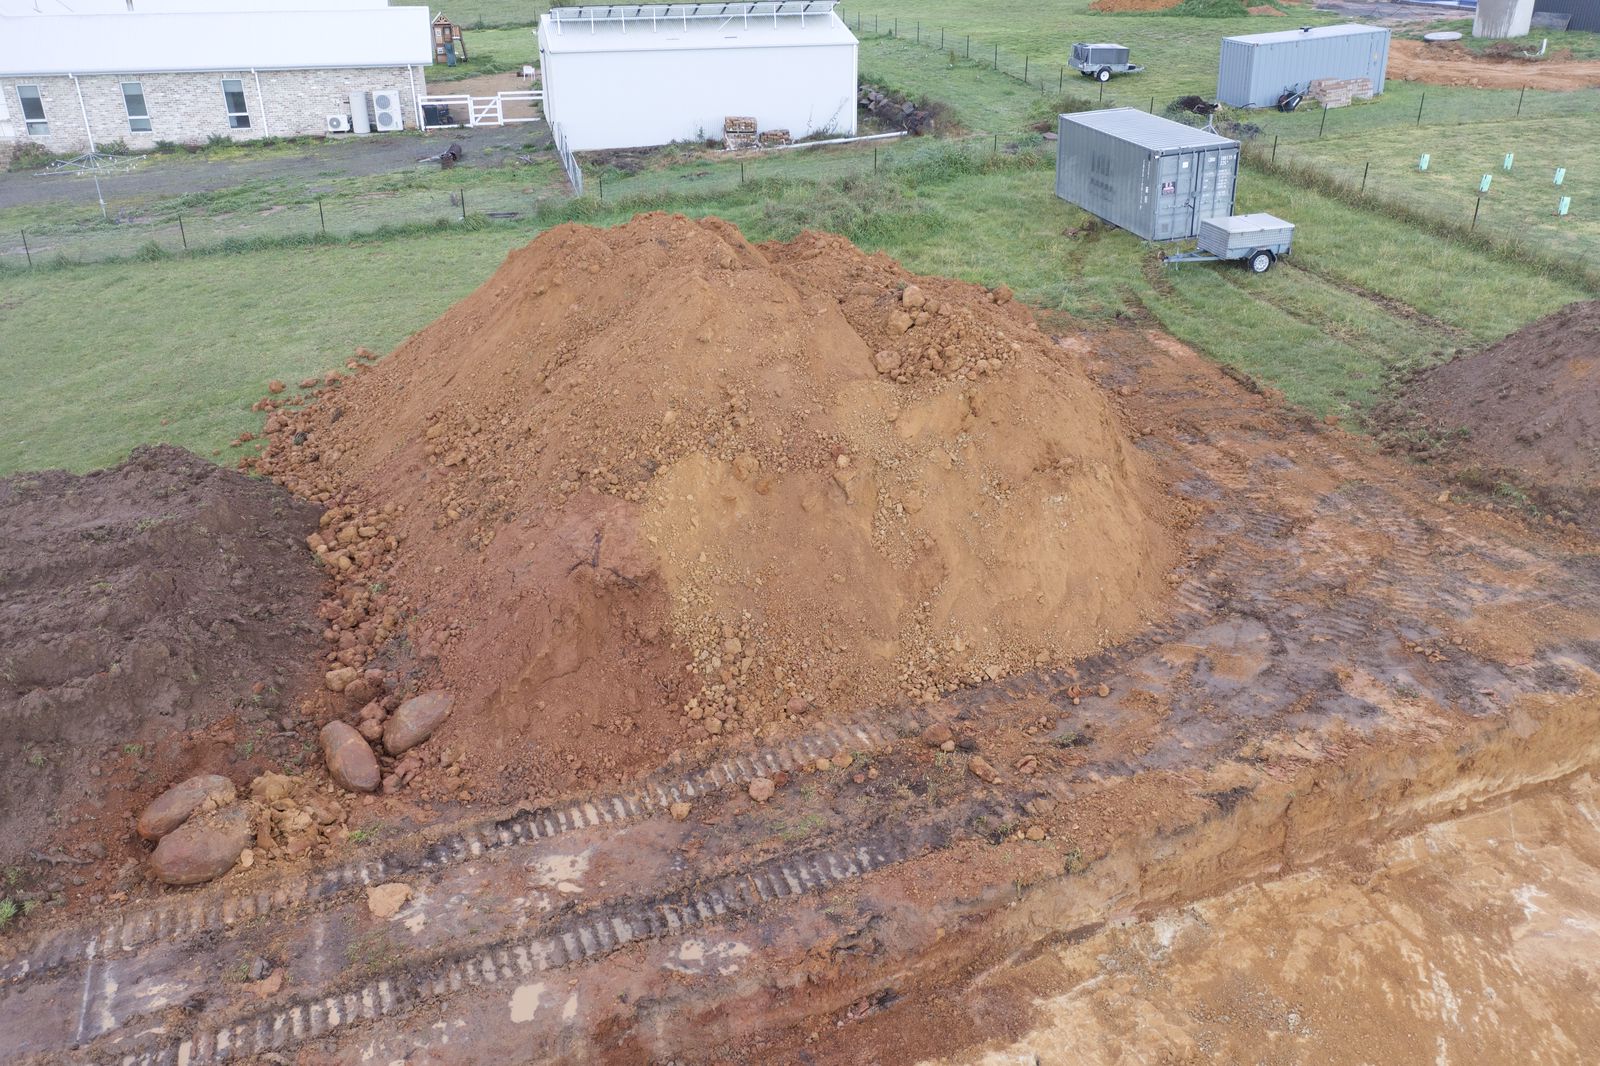
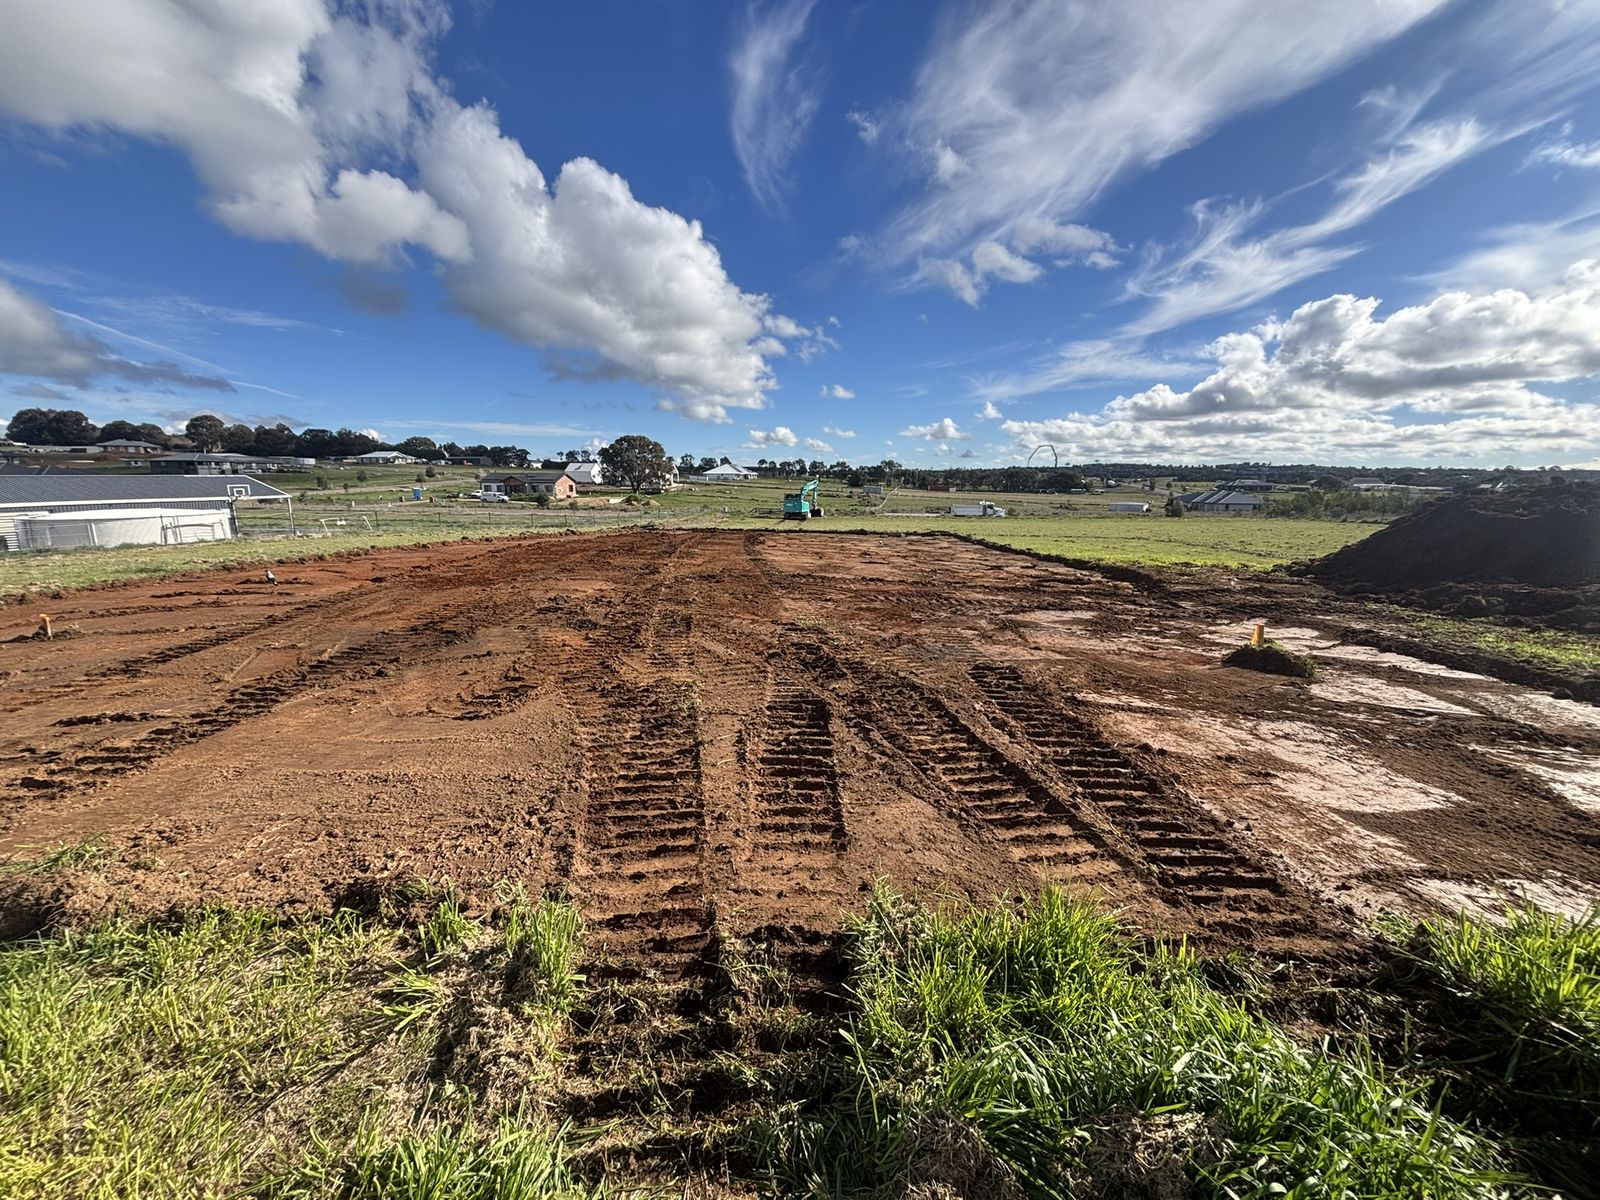
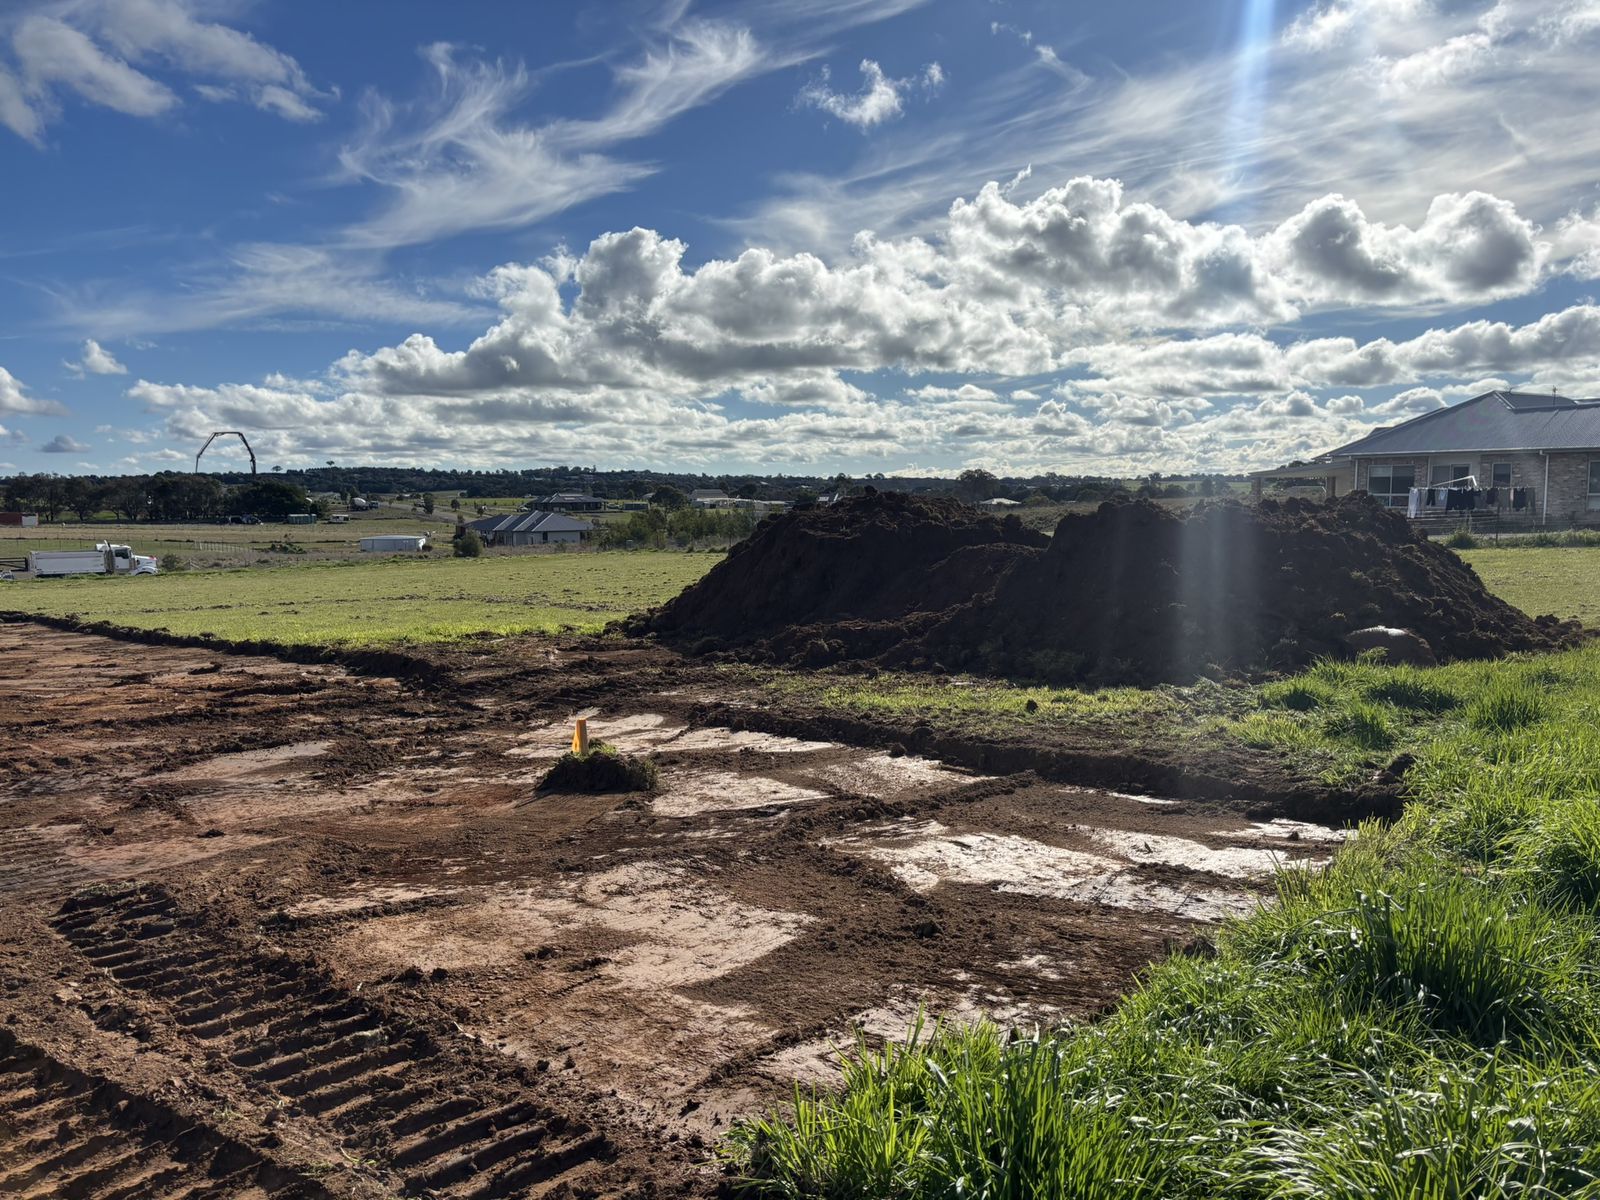
We started the site cut on 9th July, and almost immediately I realised there was an issue with my site cut & fill calculations. I’d originally calculated we’d end up with approximately 80sqm of excess cut material, however very early on we’d already ended up with this:
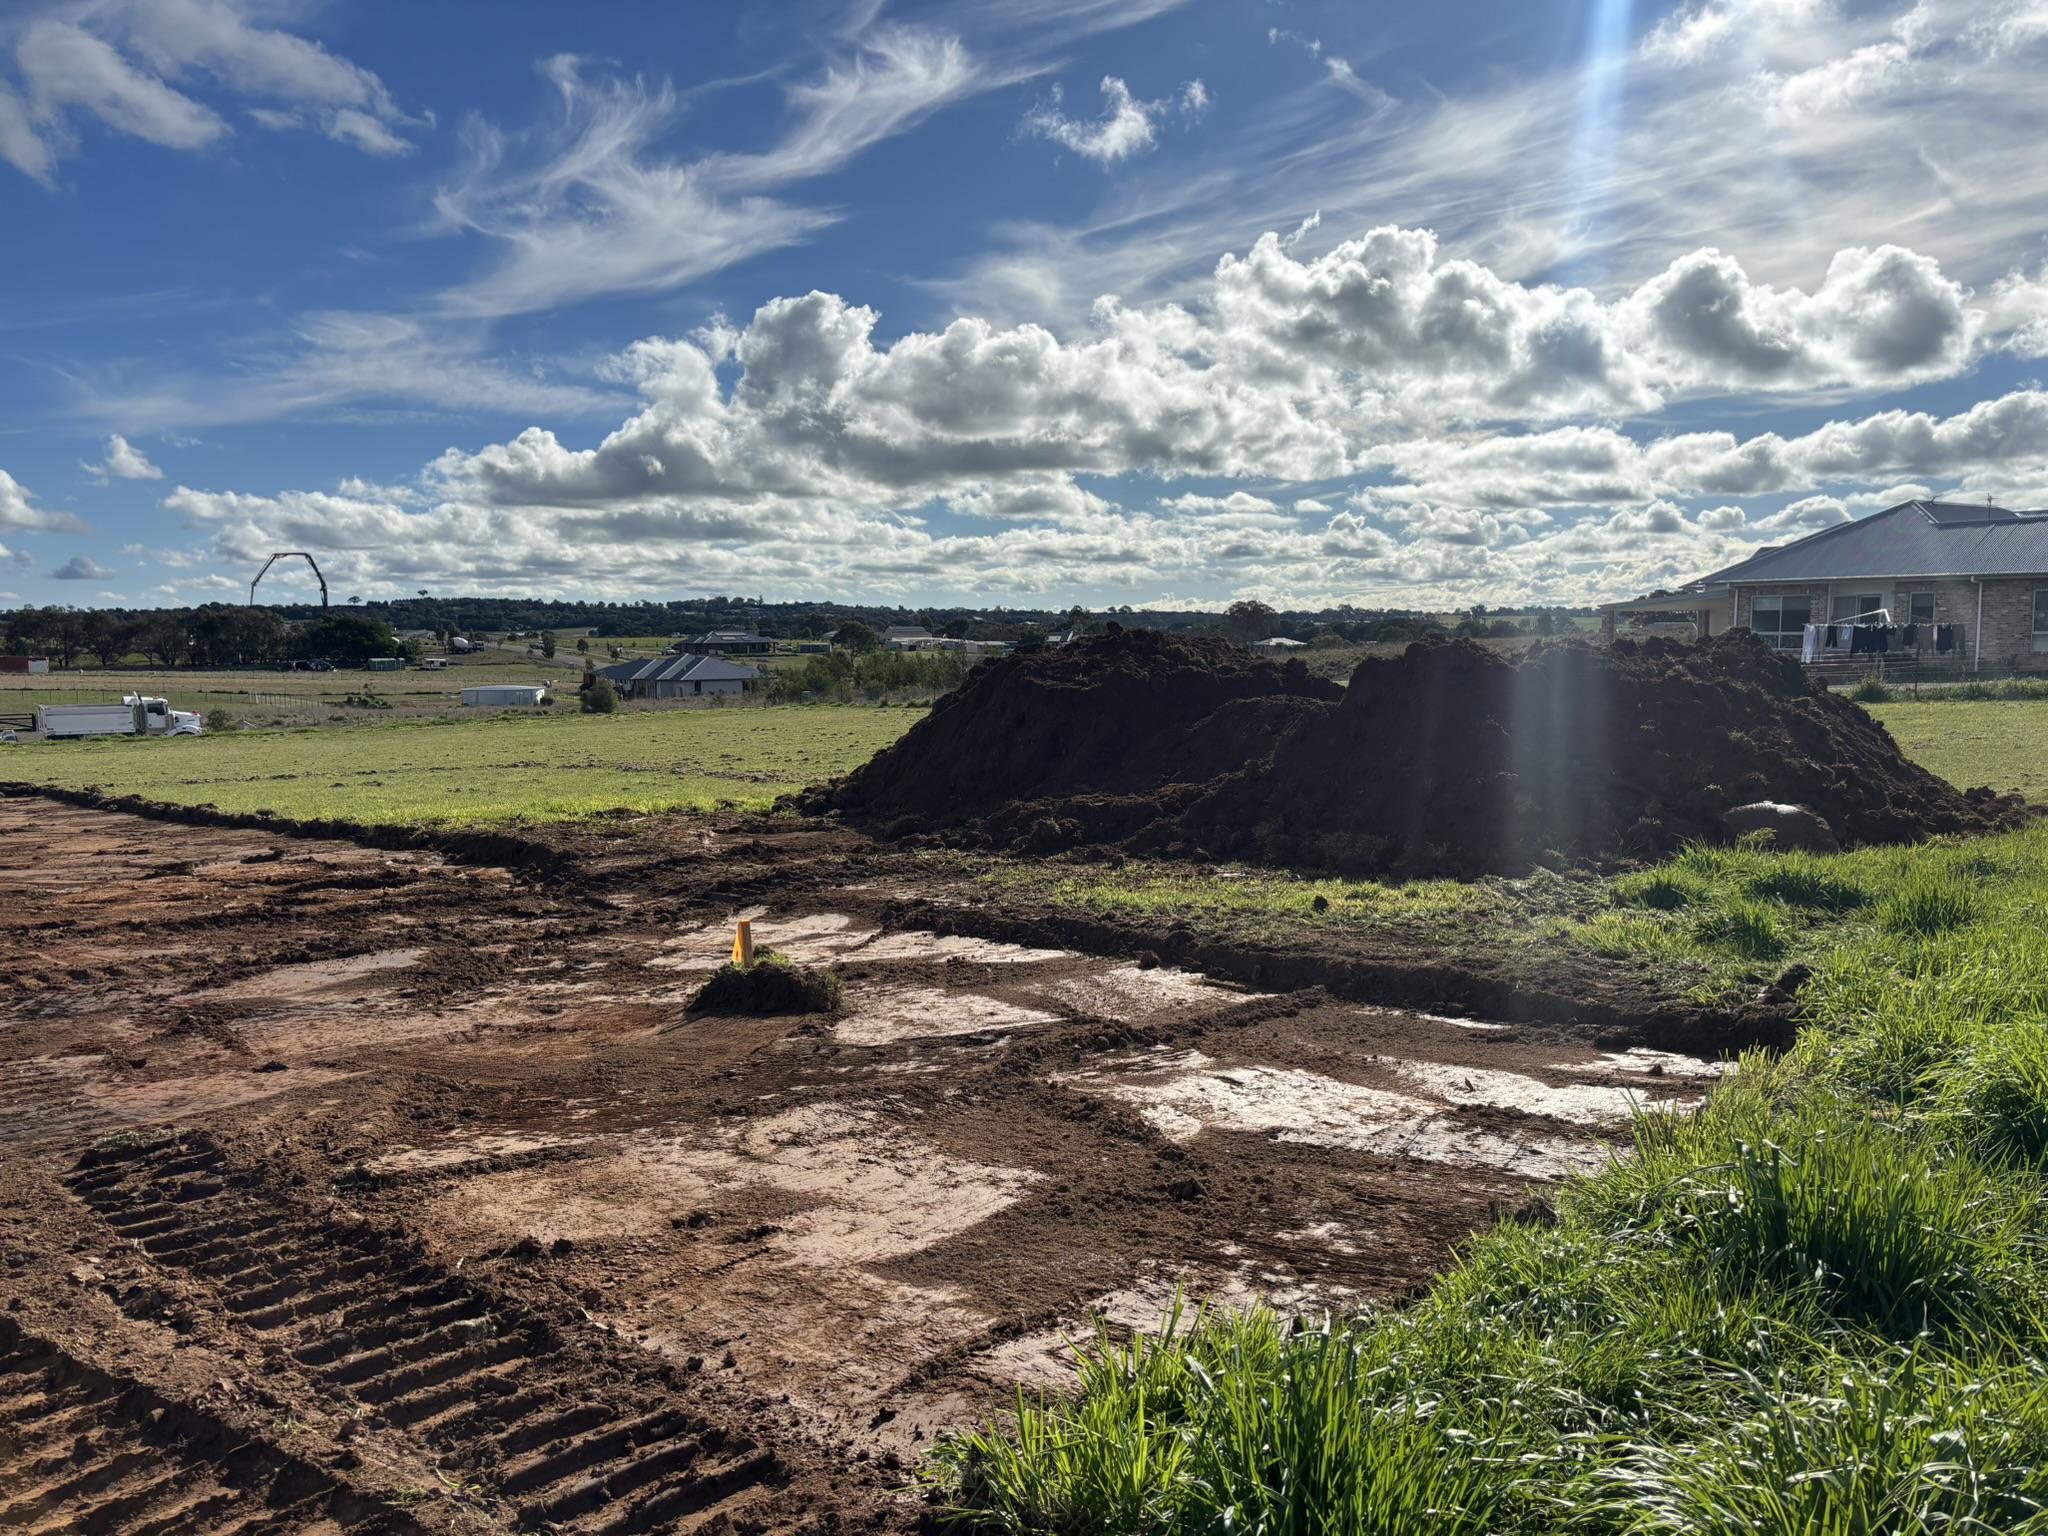
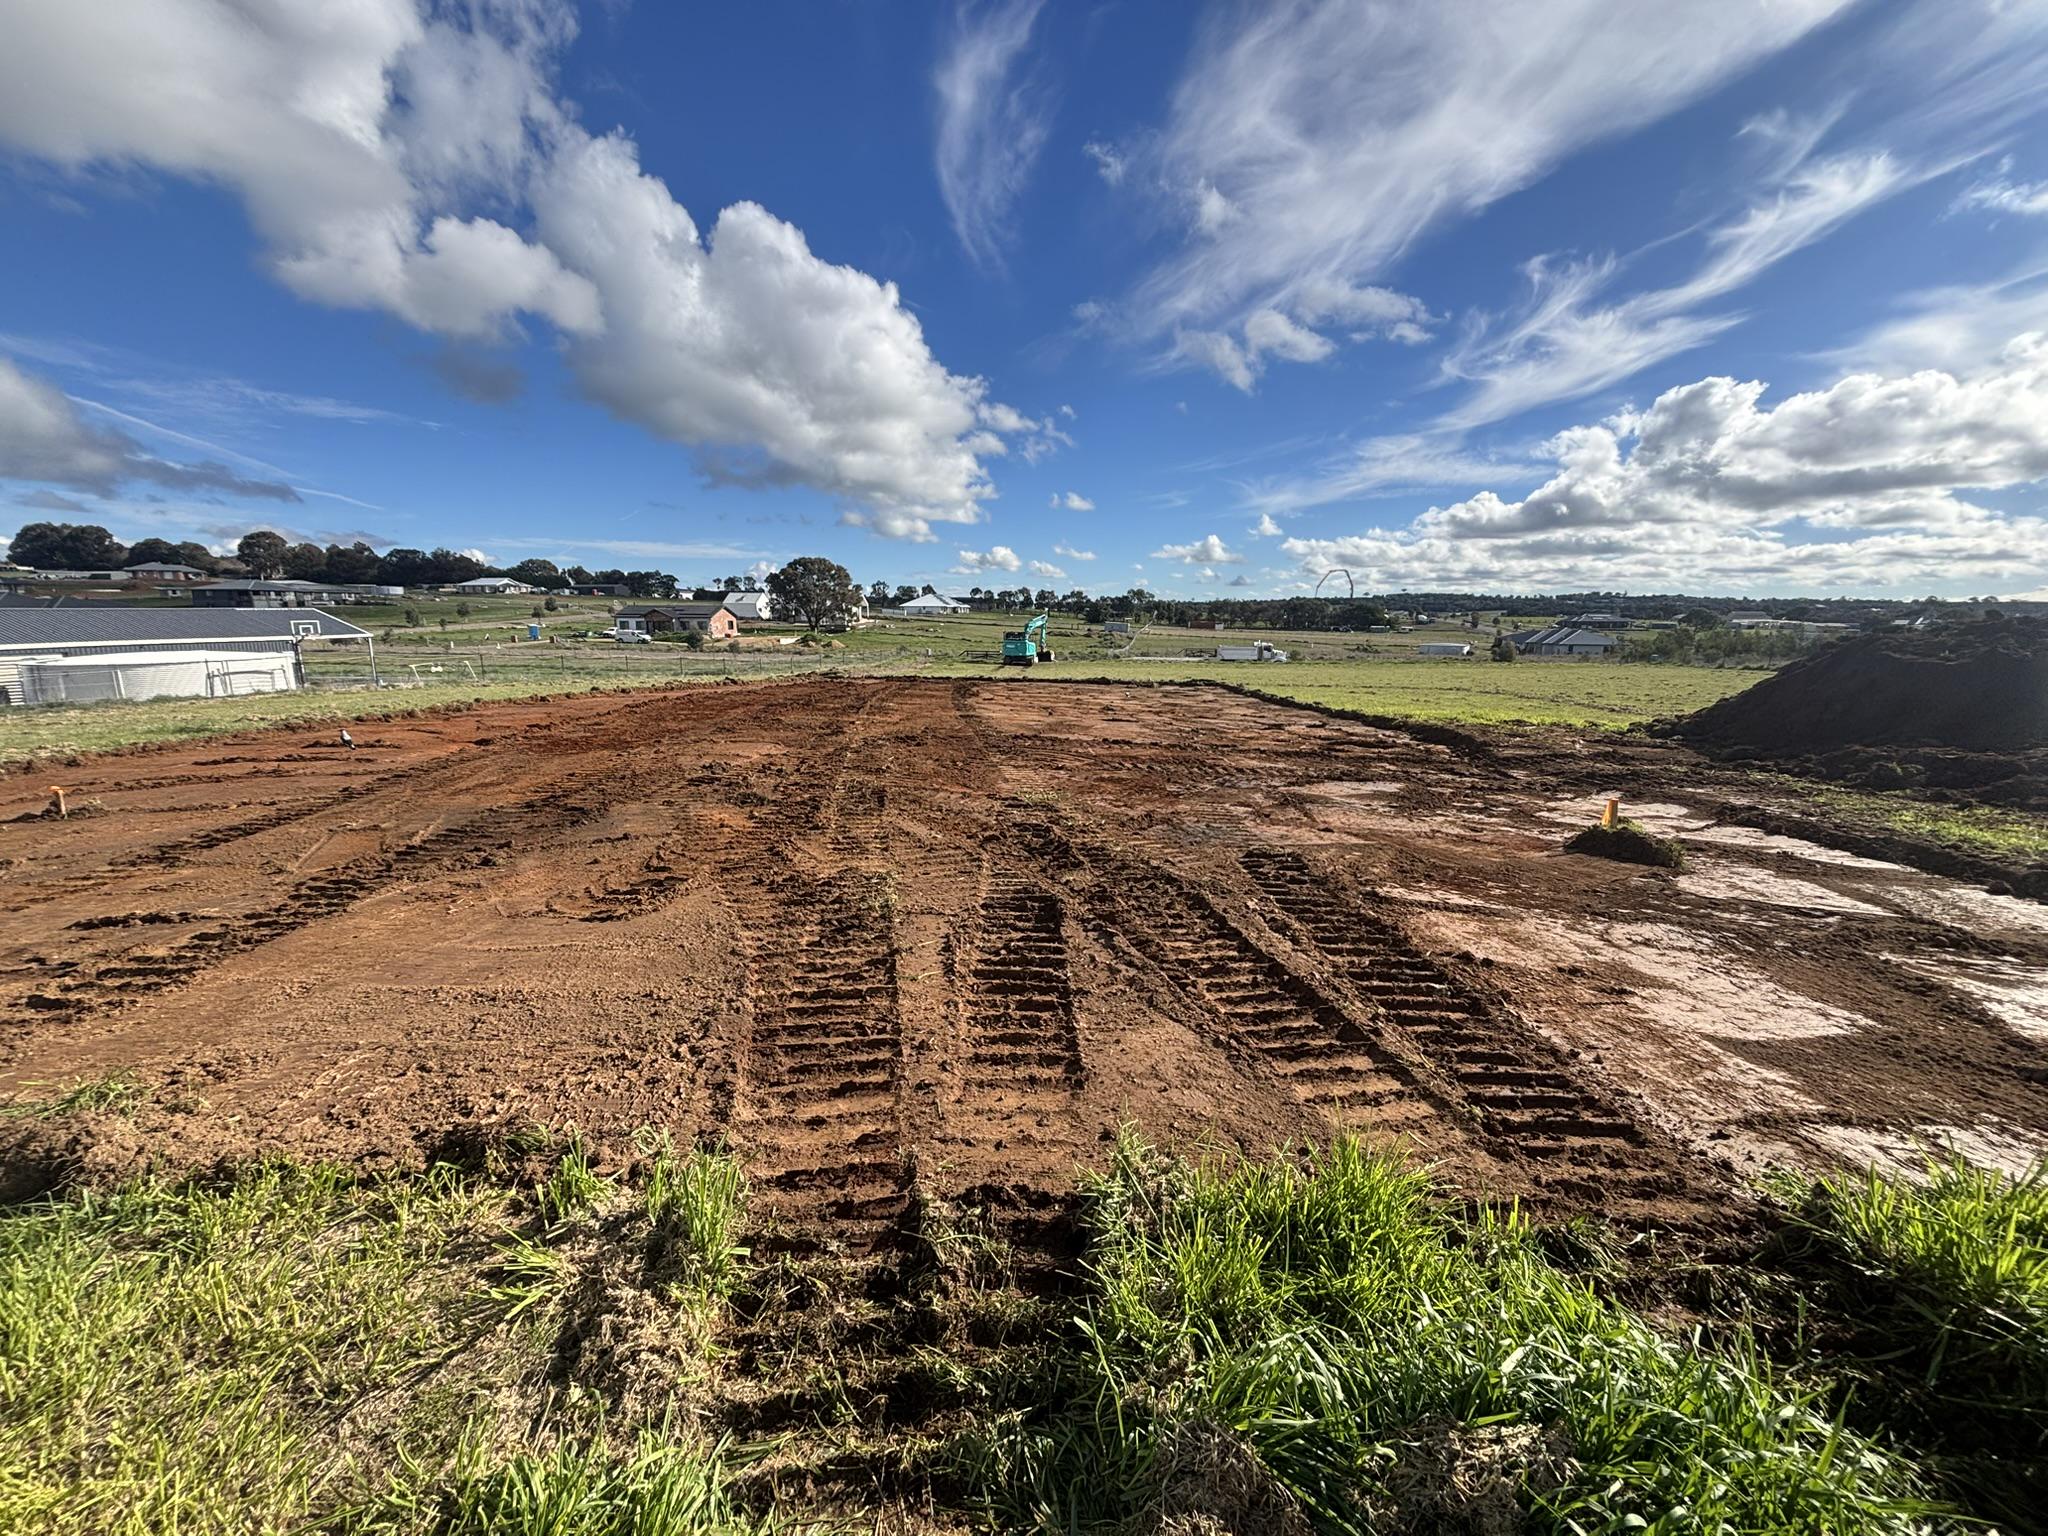
The lesson learn’t here is the software (Kubla Cubed) I used to plan and calculate the site cut/fill volumes, only calculates the raw in-situ volume and does not vaclulate any bulking or compaction - you need to do that separately!
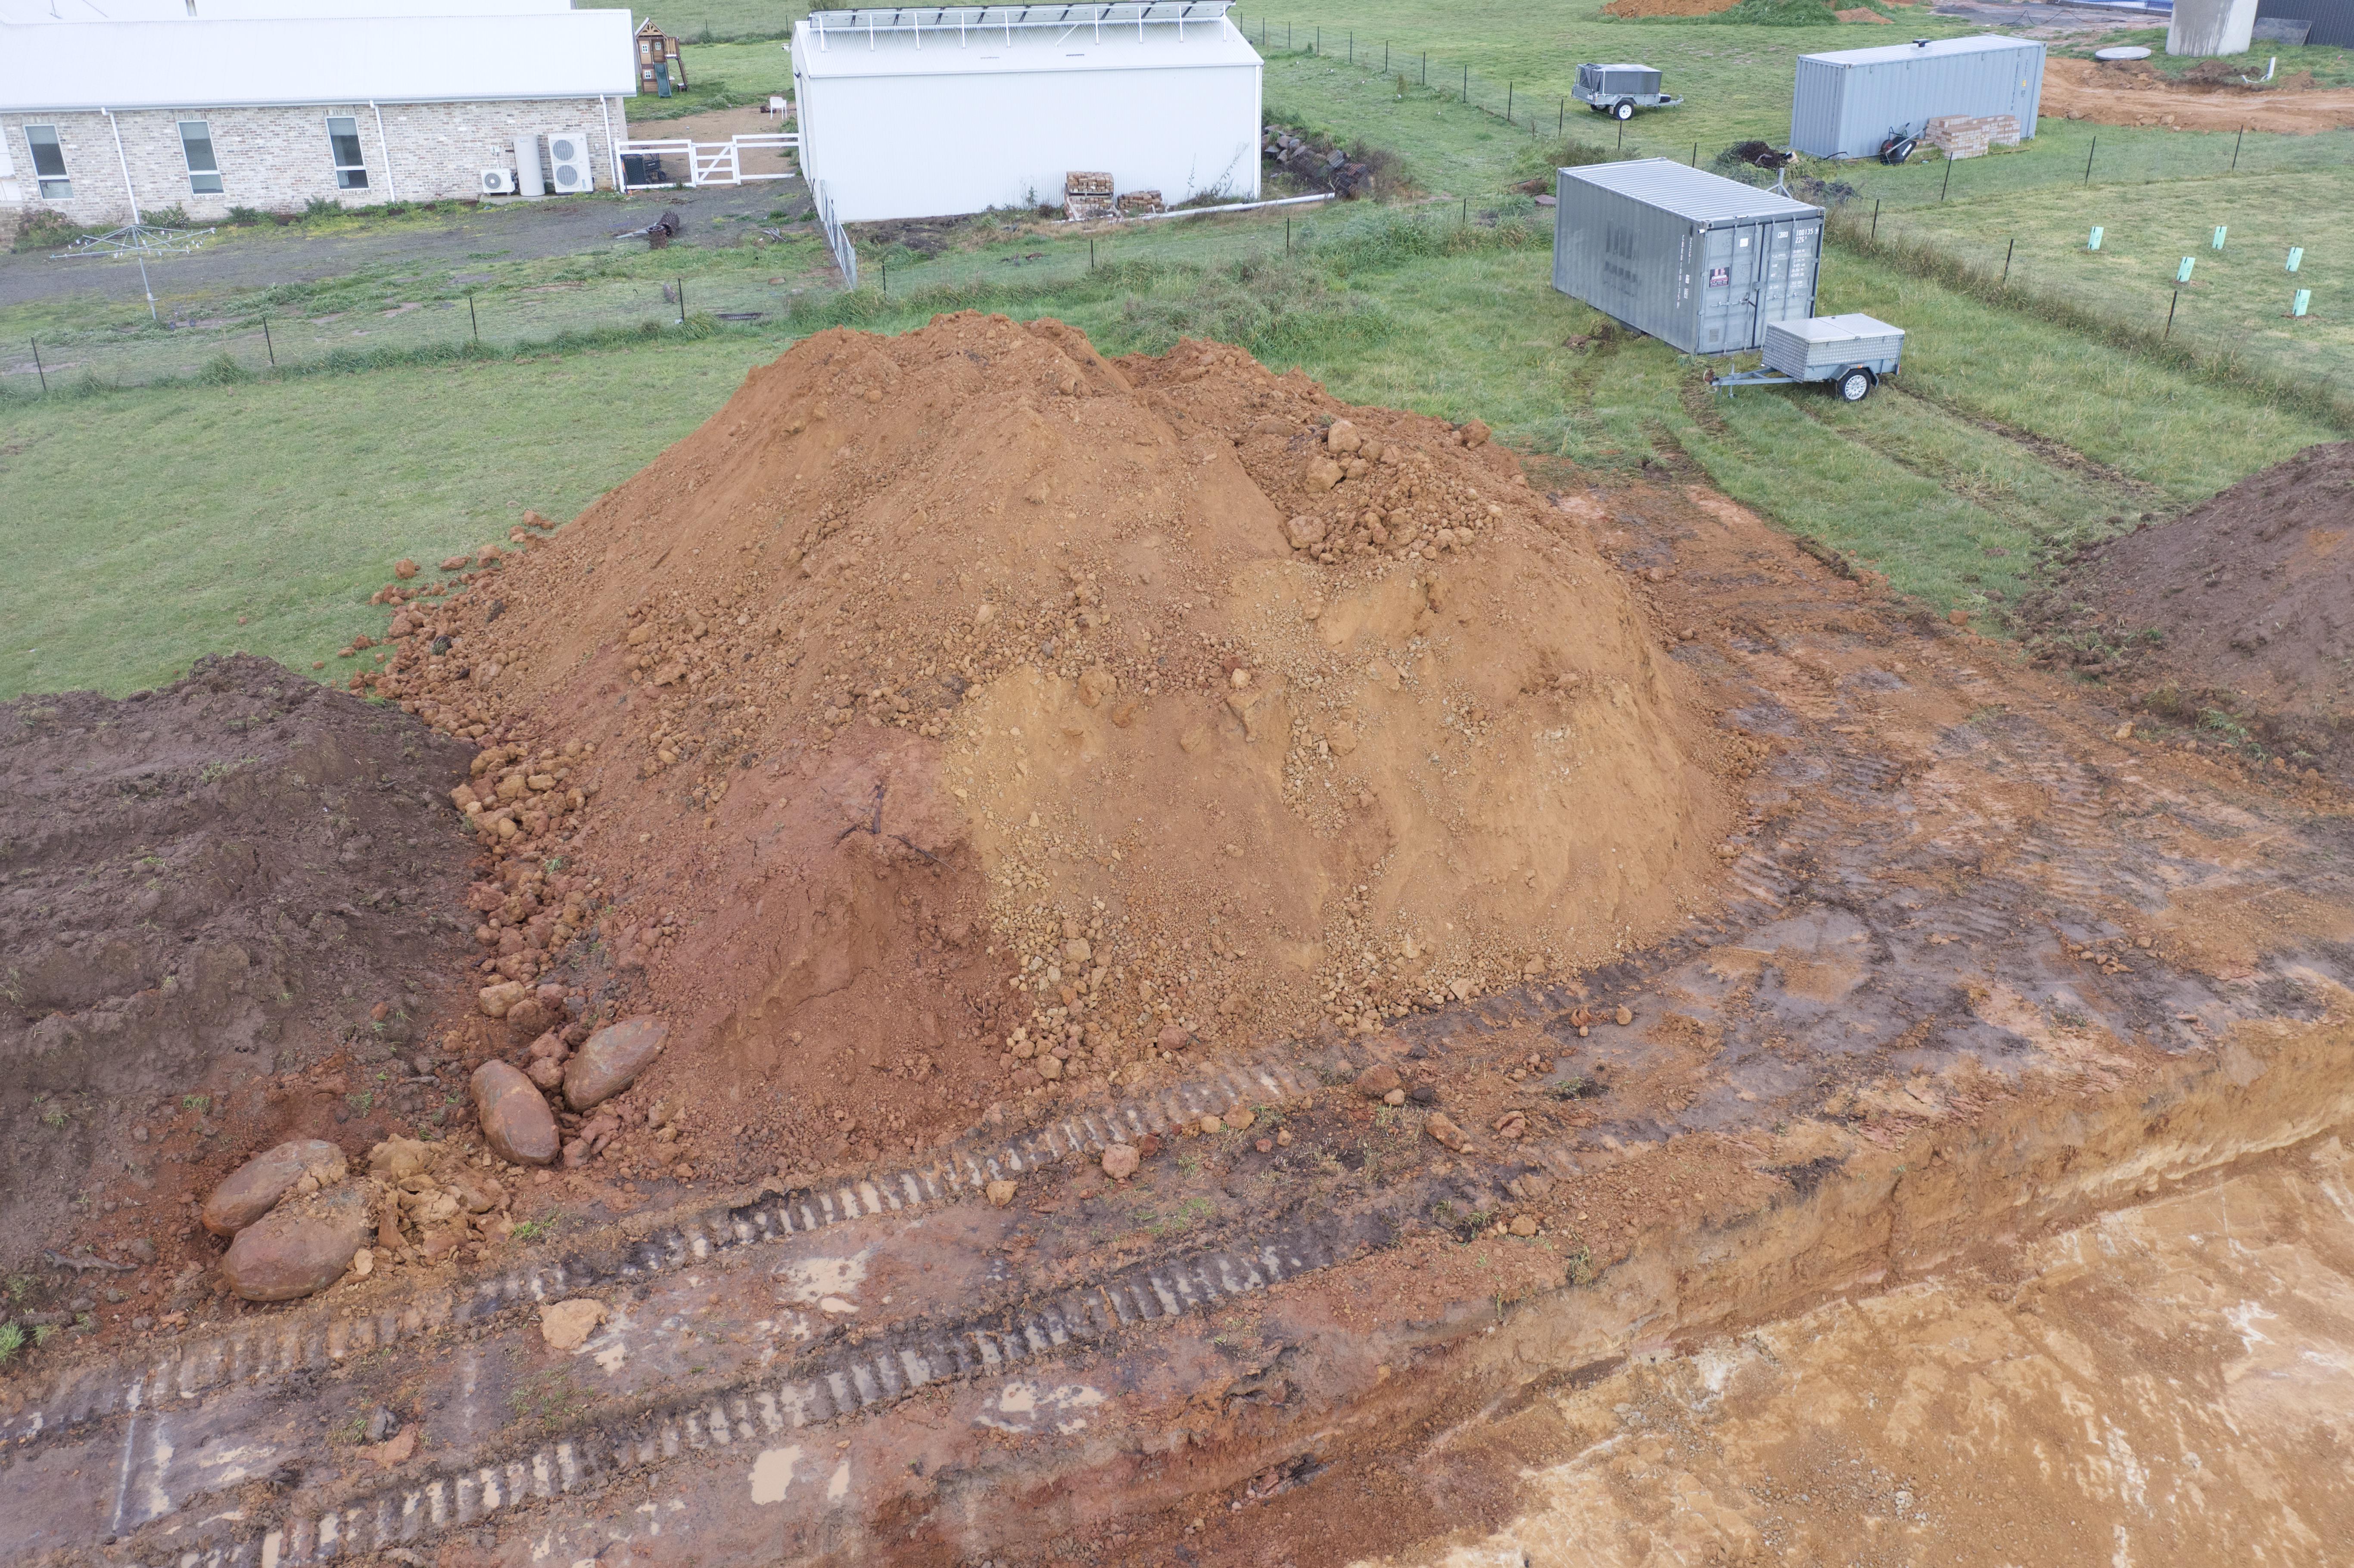
The result was this stockpile of clay which was approximately 600sqm, a little bit more than my 120sqm original estimate. Whoops!
Drainage, Stormwater, Trenching & Electrical Conduits
(Need to add details here, was a lot more work then I was expecting)
- Upsized the lead-in electrical conduit from 50mm (spec’ed by electrican) to 67mm HD. It’s a 48m run, with a 90 and 45-degree sweep - so wanted to be extra sure we could pull cable through.
- NBN conduit installed.
- 32mm MD conduit for fiber and data.
- Pre-provision conduit laid for future shed/guest house.
- I surveyoed all conduit runs.
- Covered all conduit with gravel, before back filling.
I’ve left the main trench open to the front of the property. I am still deciding on some details for front gate, so want to keep it open so can sort out electrical and data at the front of the property.
Slab Insulation
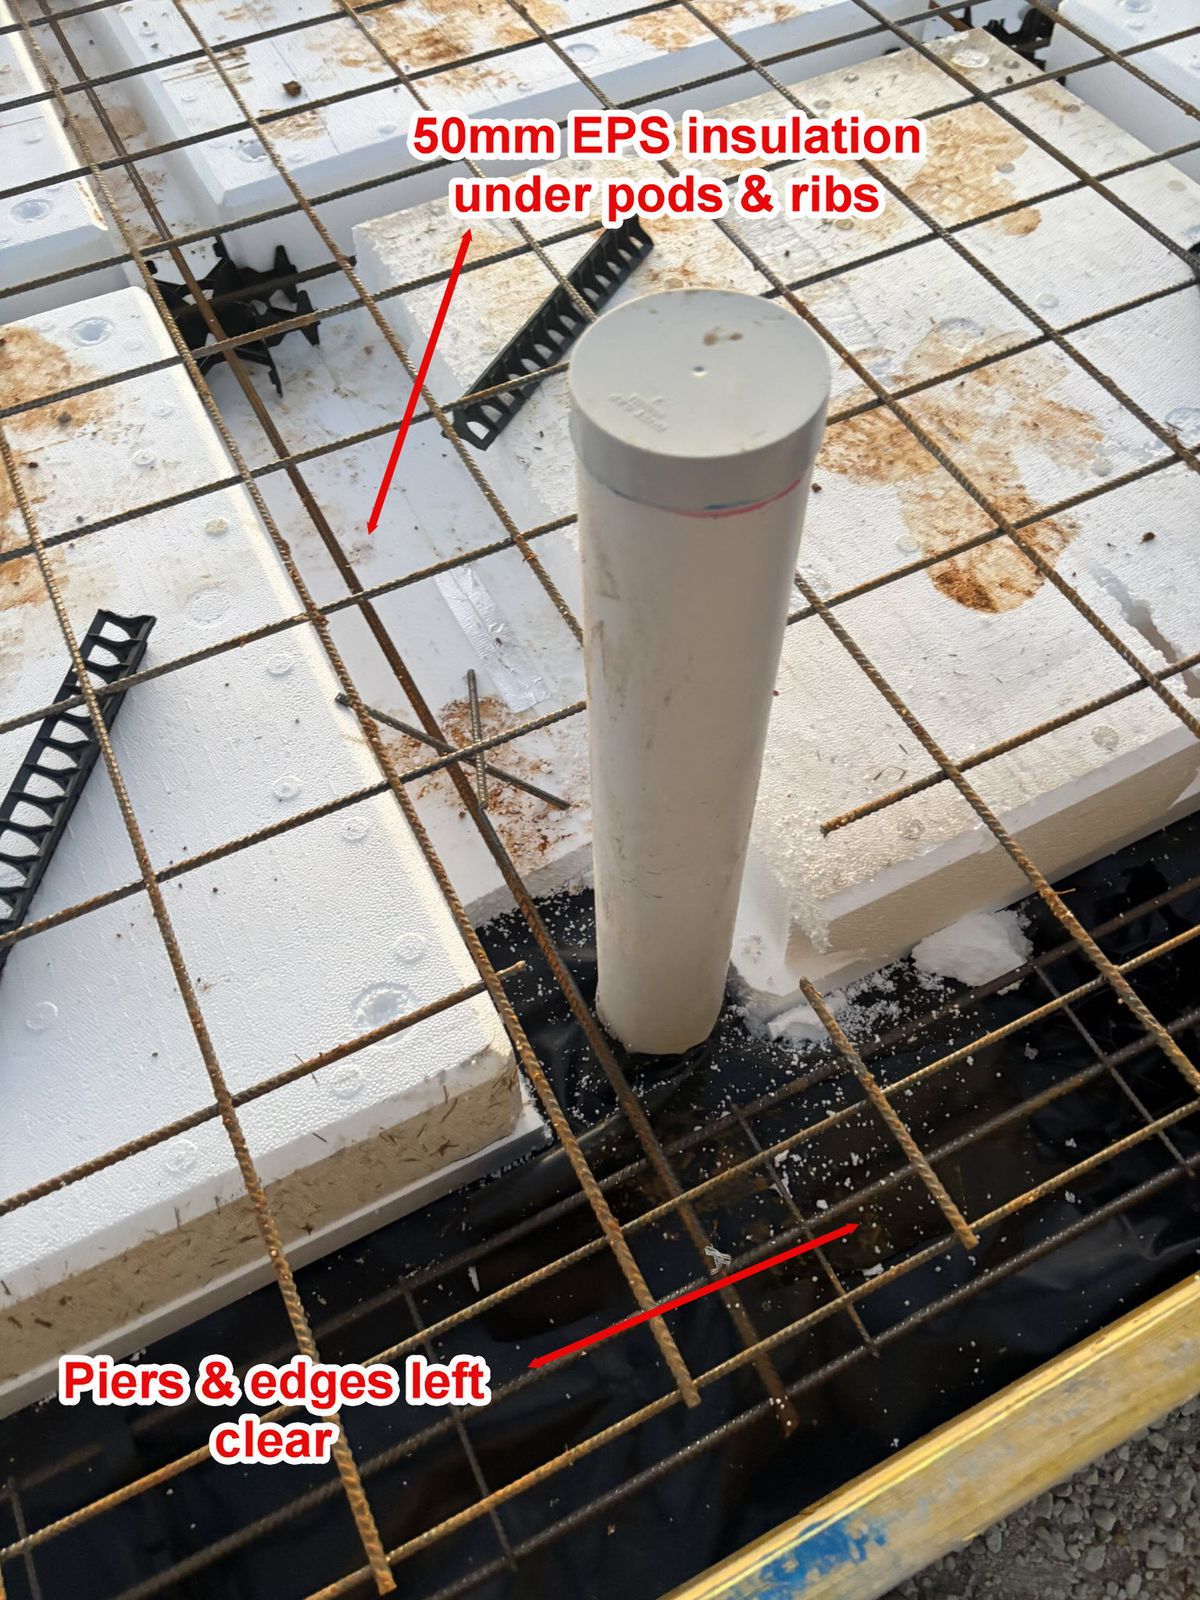
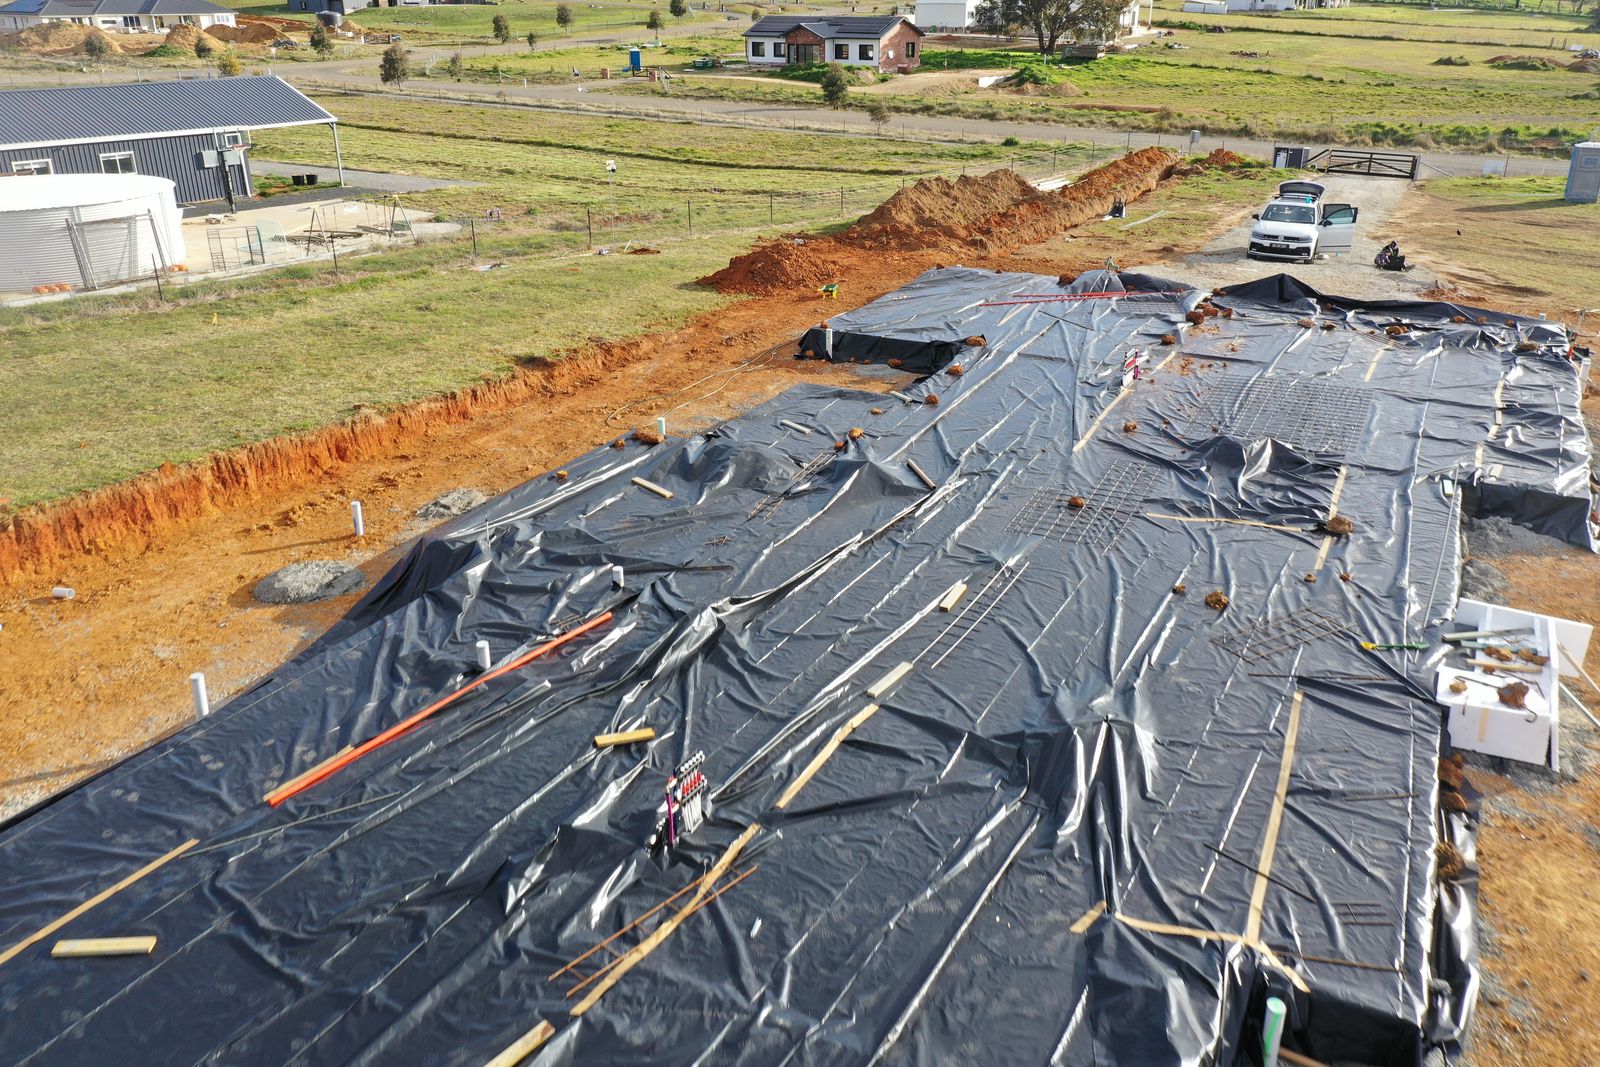
Under the slab, including under ribs went in 50mm EPS (M-Grade, 105 kPa, R1.25). The engineer spec’ed out SL grade, but we upgraded it (why not? It was a dirt cheap upgrade). I supervised the installation, ensuring that all boards wen’t in unbroken, butted up against each other and any cut outs around around piers was done as tight as possible.
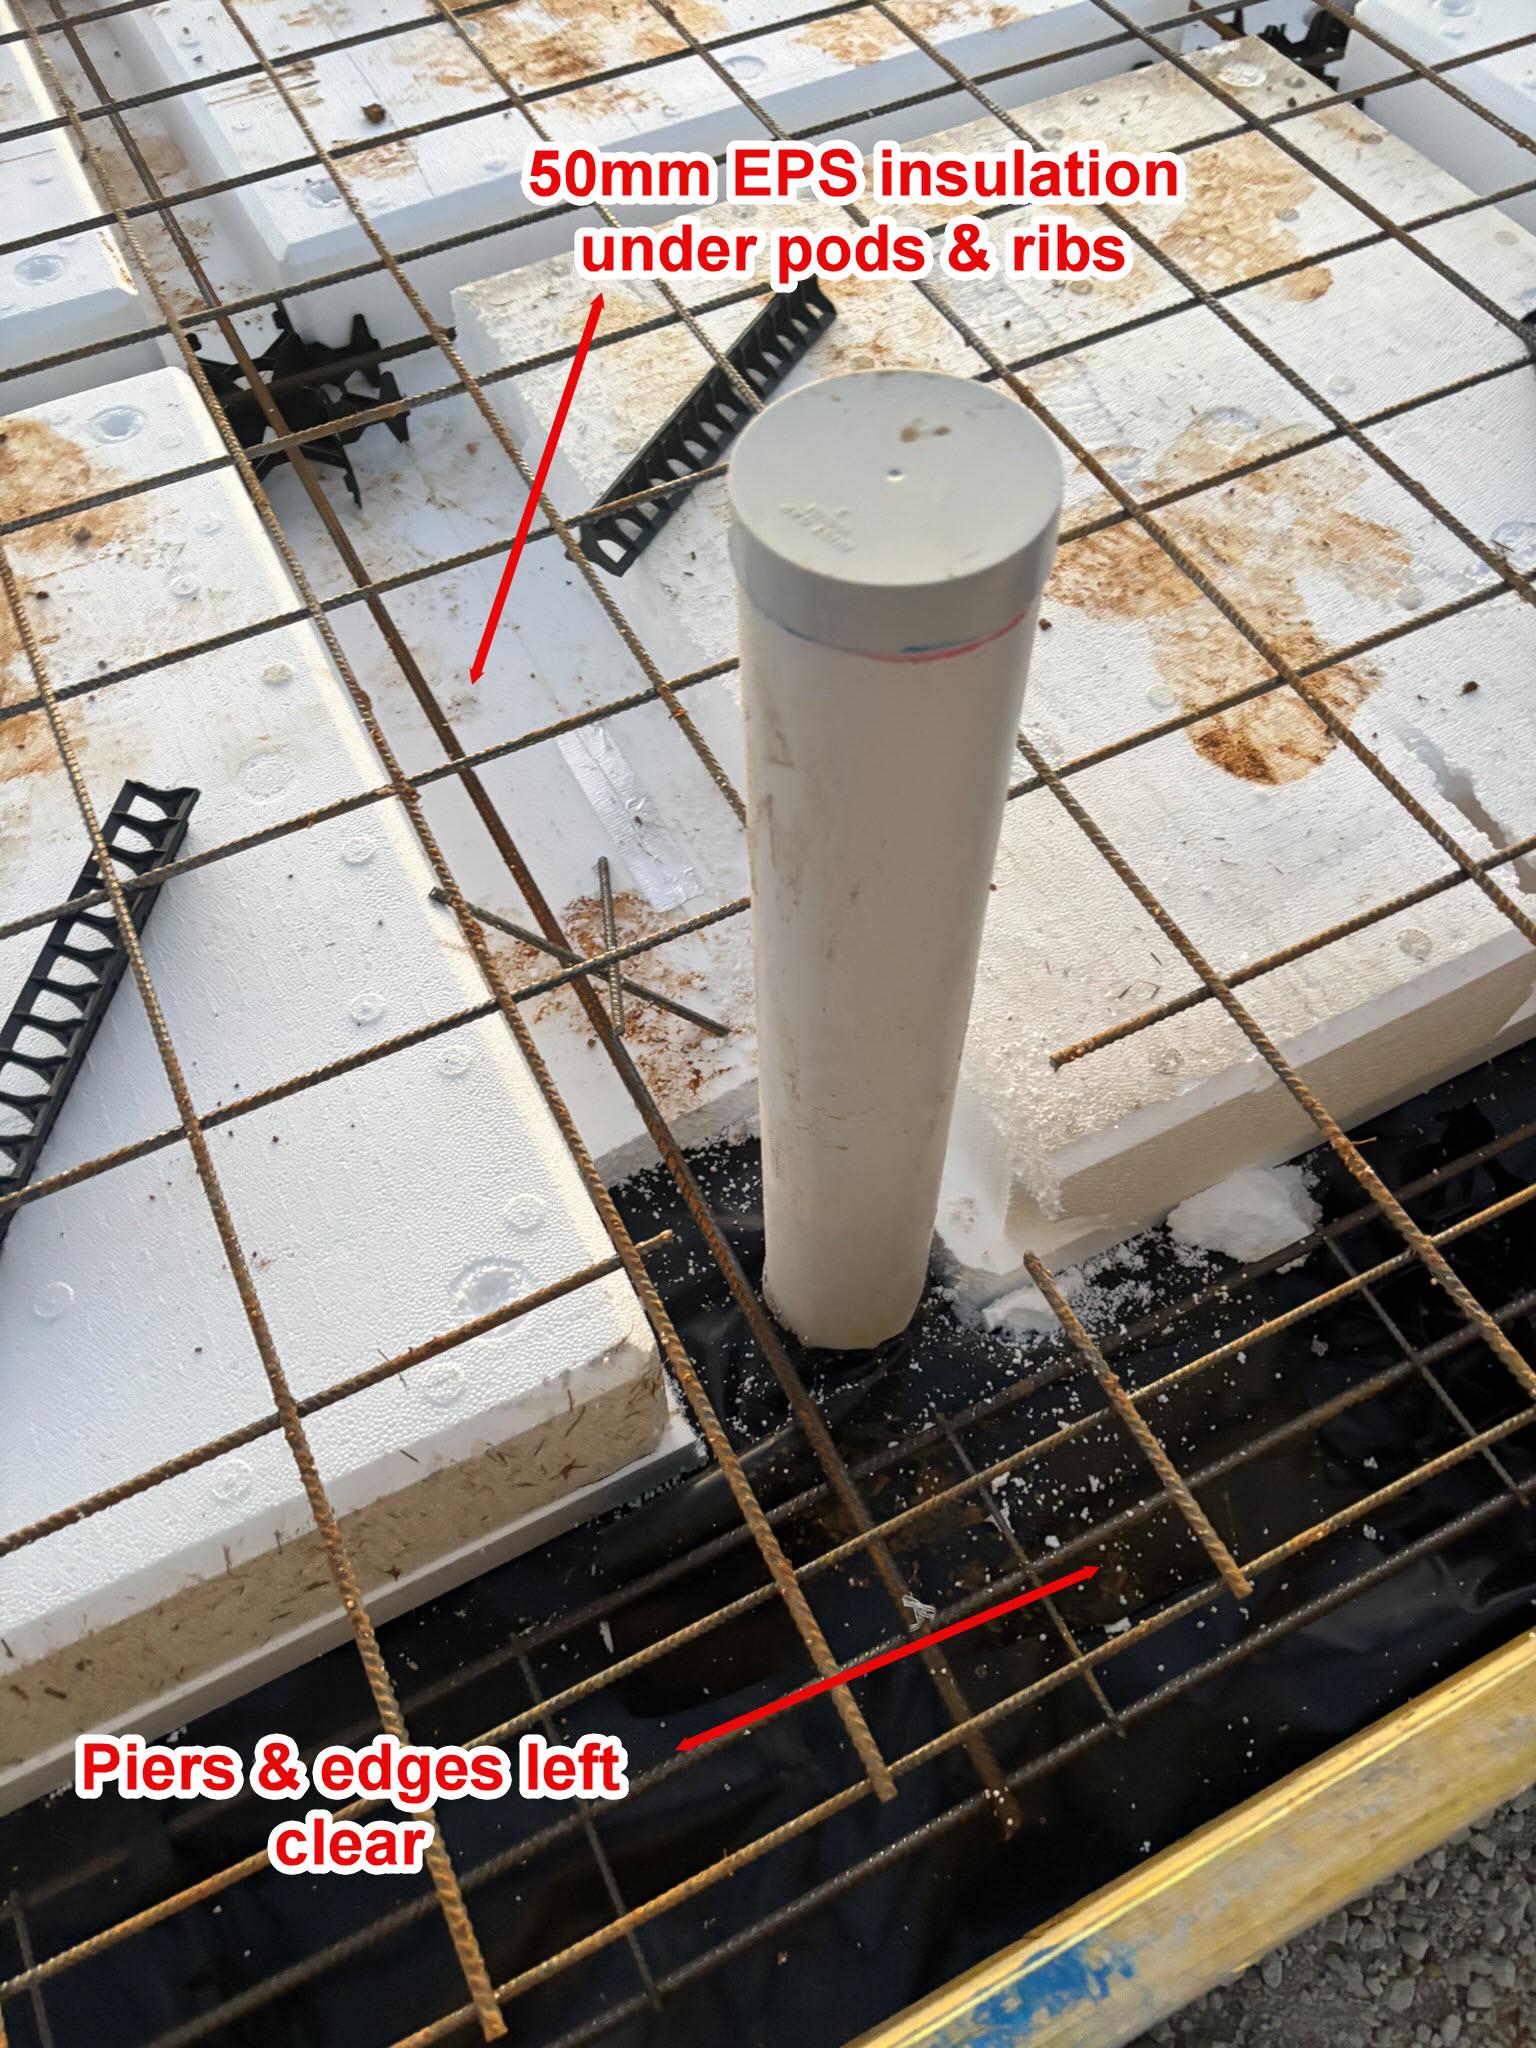
I originally budgeted $7,500 for under slab based on retail/Google pricing, but once I setup trade accounts I got this cost down to $3800 delivered.
Slab Edge
When cladding goes in, a slab edge detail will go in (XPS). You’d normally do this detail inside your boxed frame before the pour - but for a reason I can’t remember, builder and I decided to wait to do this later. During the pour, I ensured the slab edge was kept clean and tidy so we’ll have no issues getting the insulation flush against the edge.
Slab Set Downs
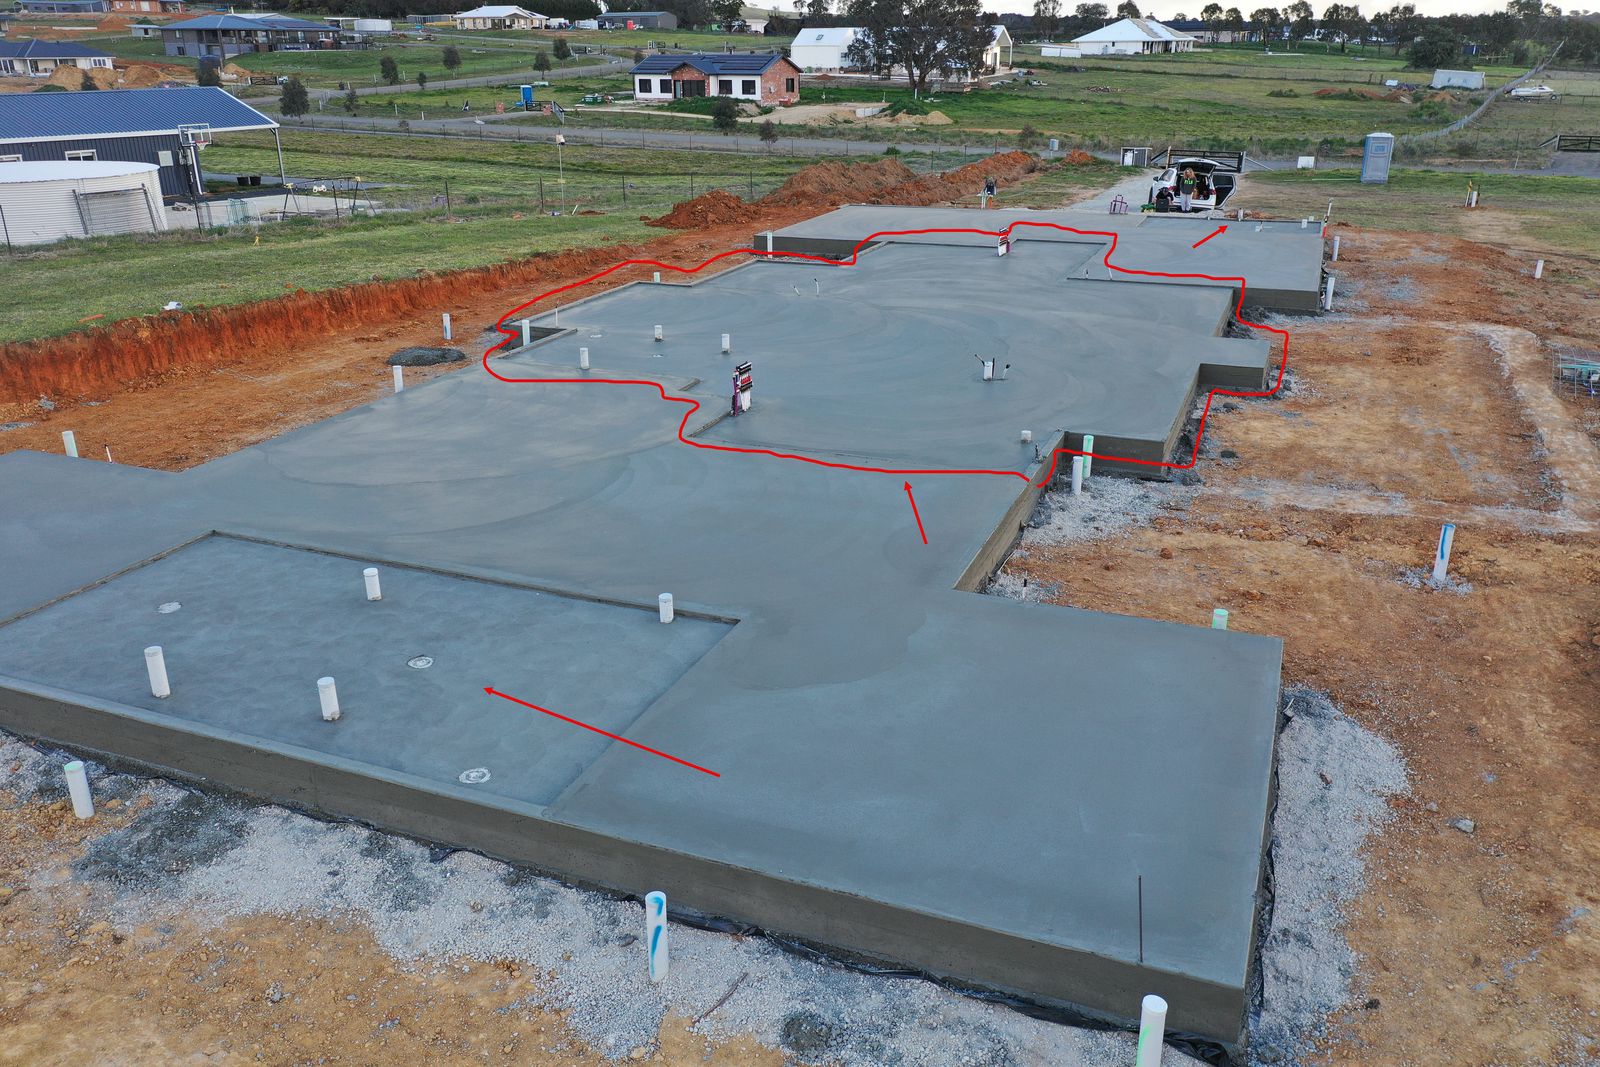
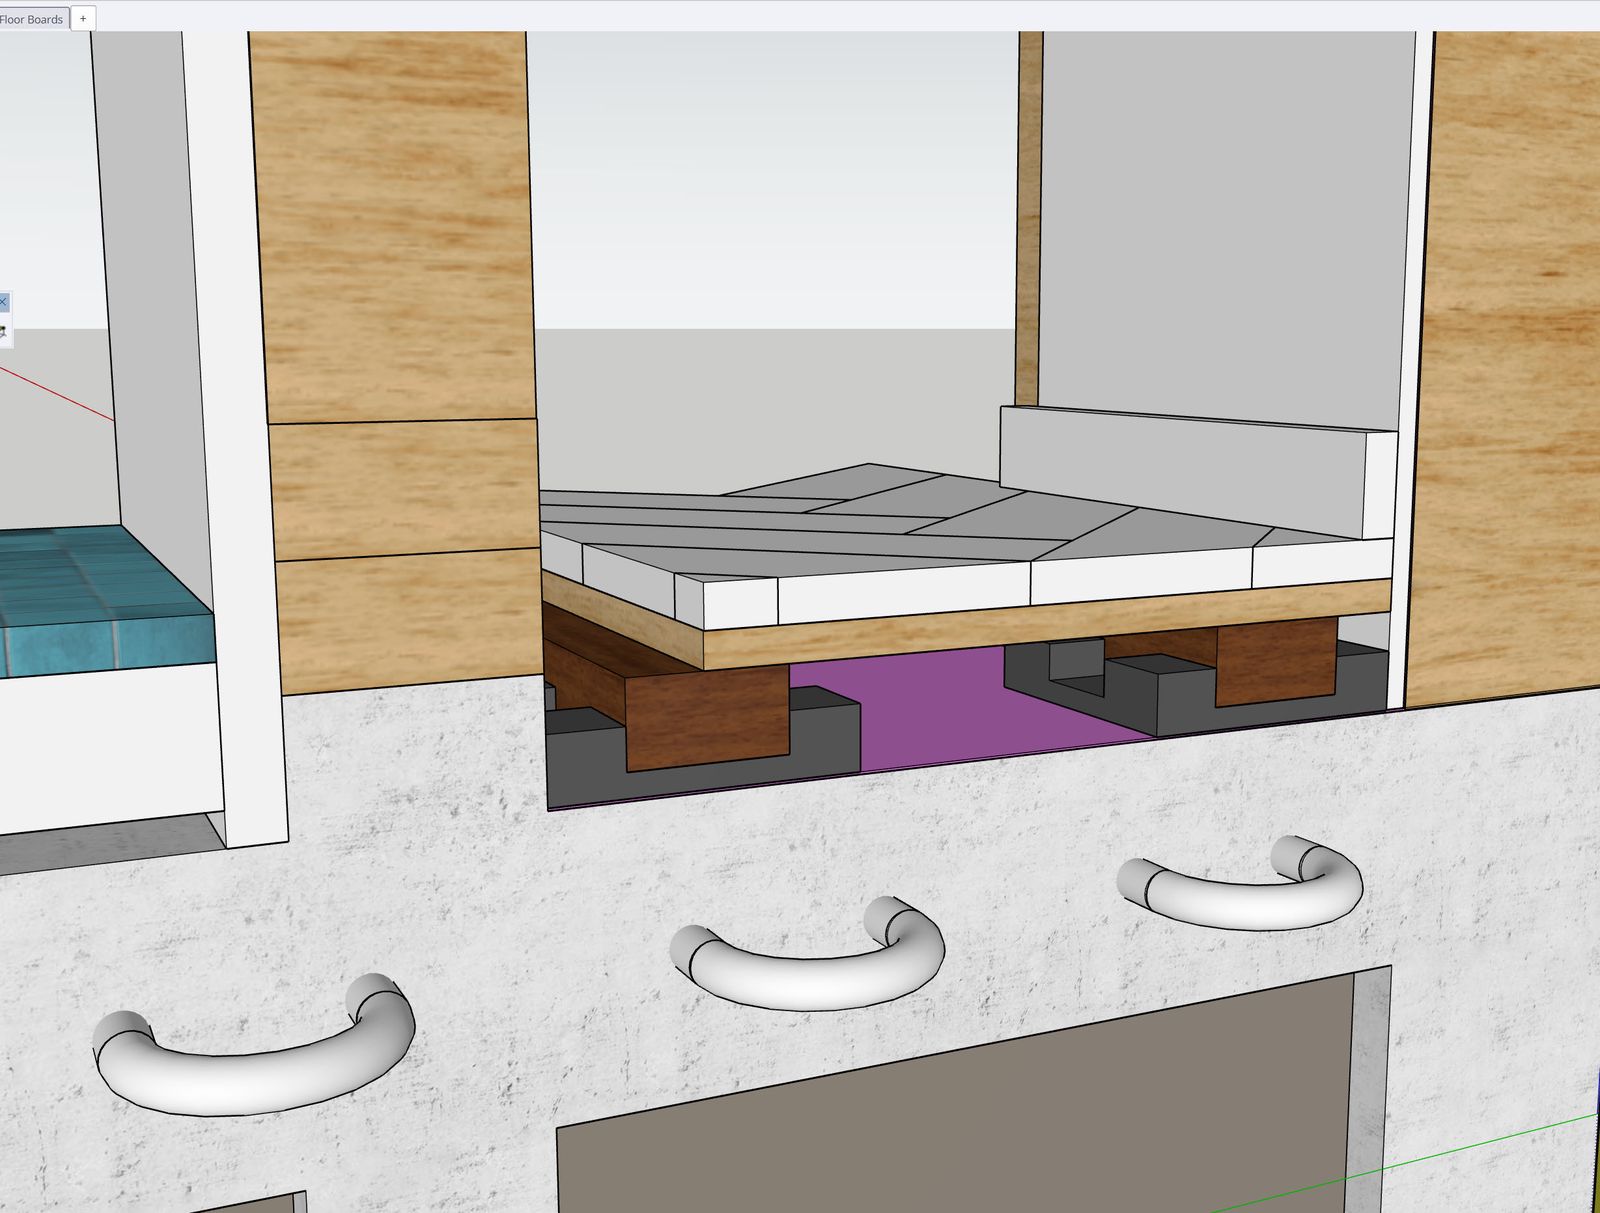
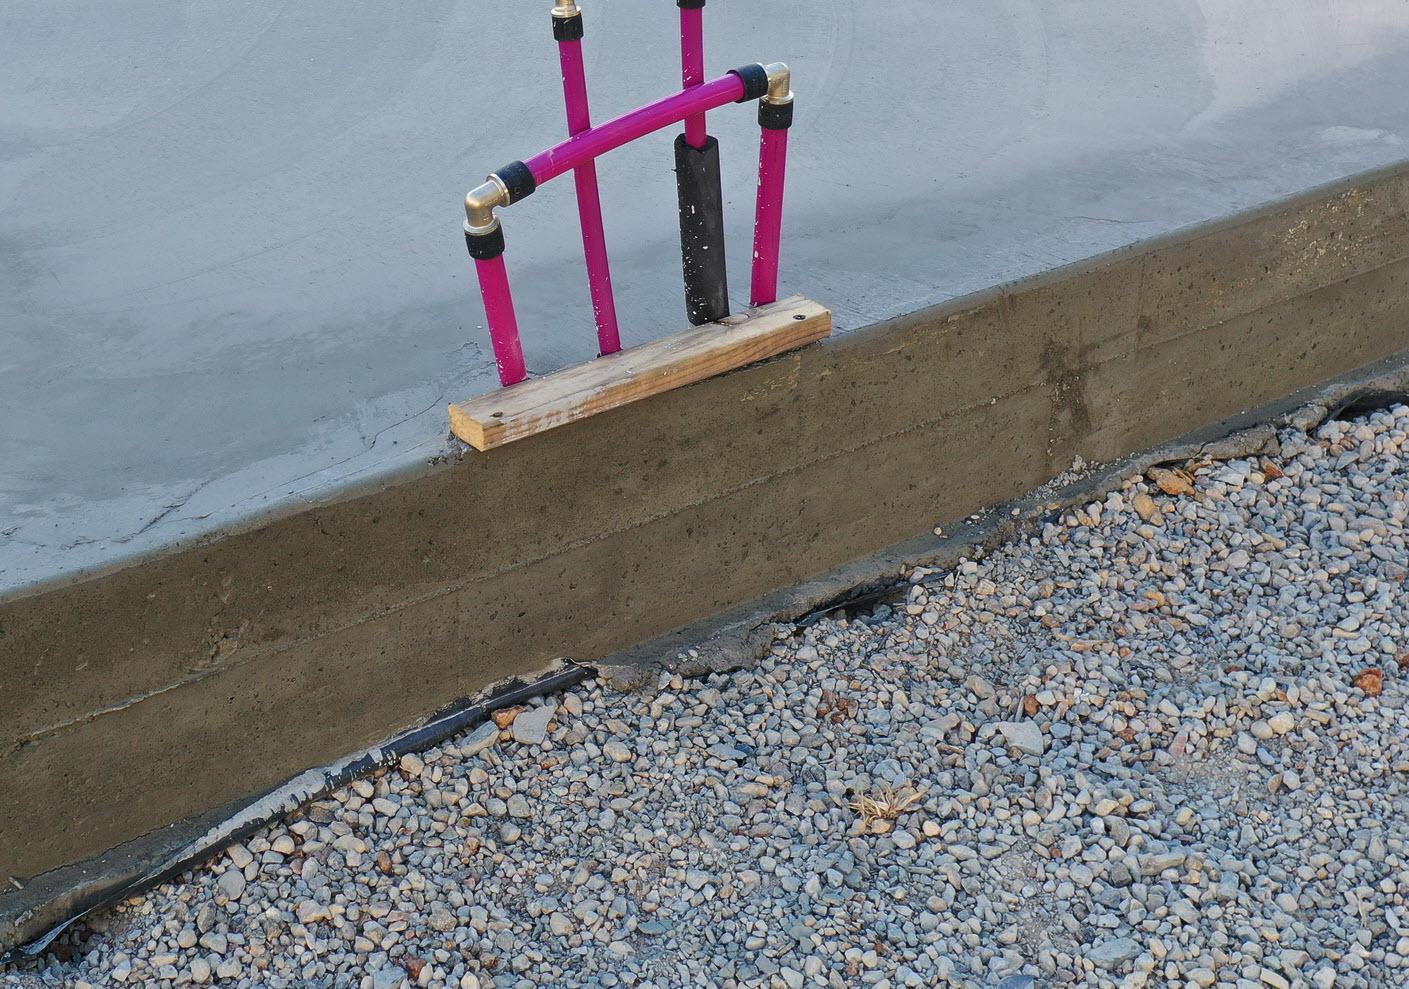
Our slab has an unusual detail: a 40mm set-down through the timber flooring areas. Normally you’d only see this in wet areas, so the tile build-up lands at the same finished floor level as everything else.
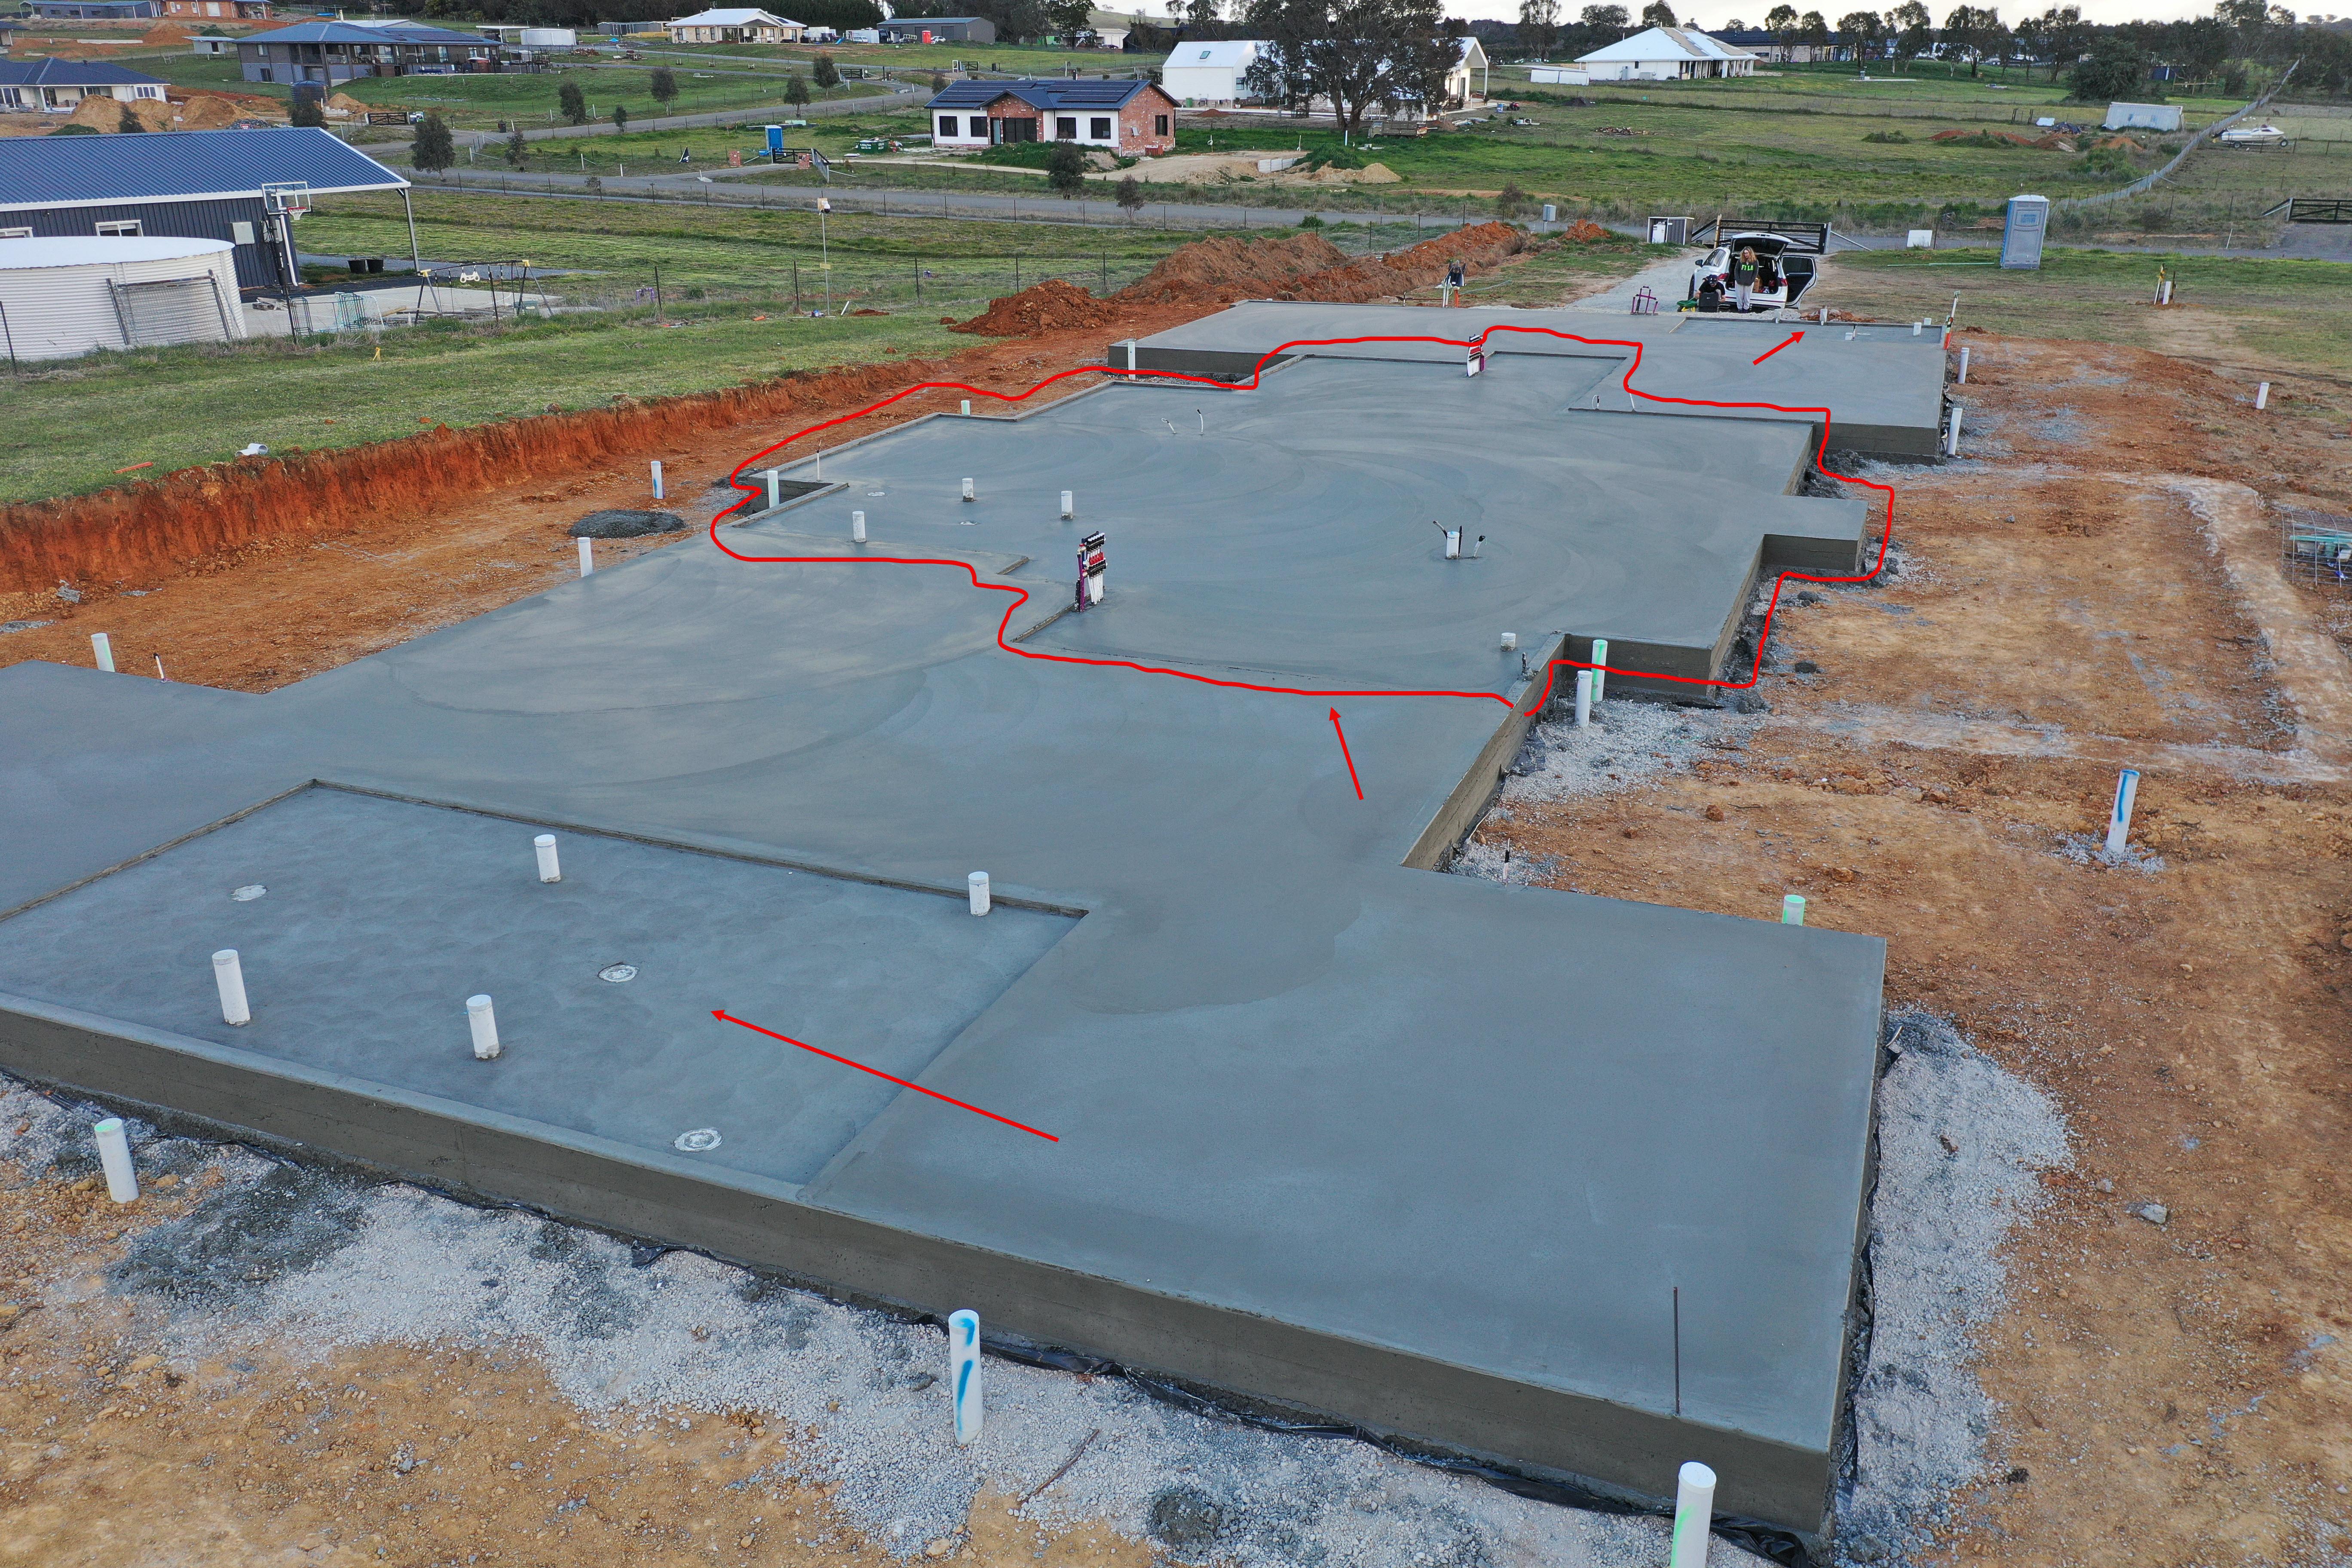
We wanted the feel of a traditional sprung floor with a herringbone layout, and that rules out direct-sticking to the slab — it needs a batten subfloor. After a lot of conversations with various trades and suppliers, we landed on this spec:
- 18mm timber laid in herringbone
- 9mm subfloor
- 13mm battens on 10mm foam pads
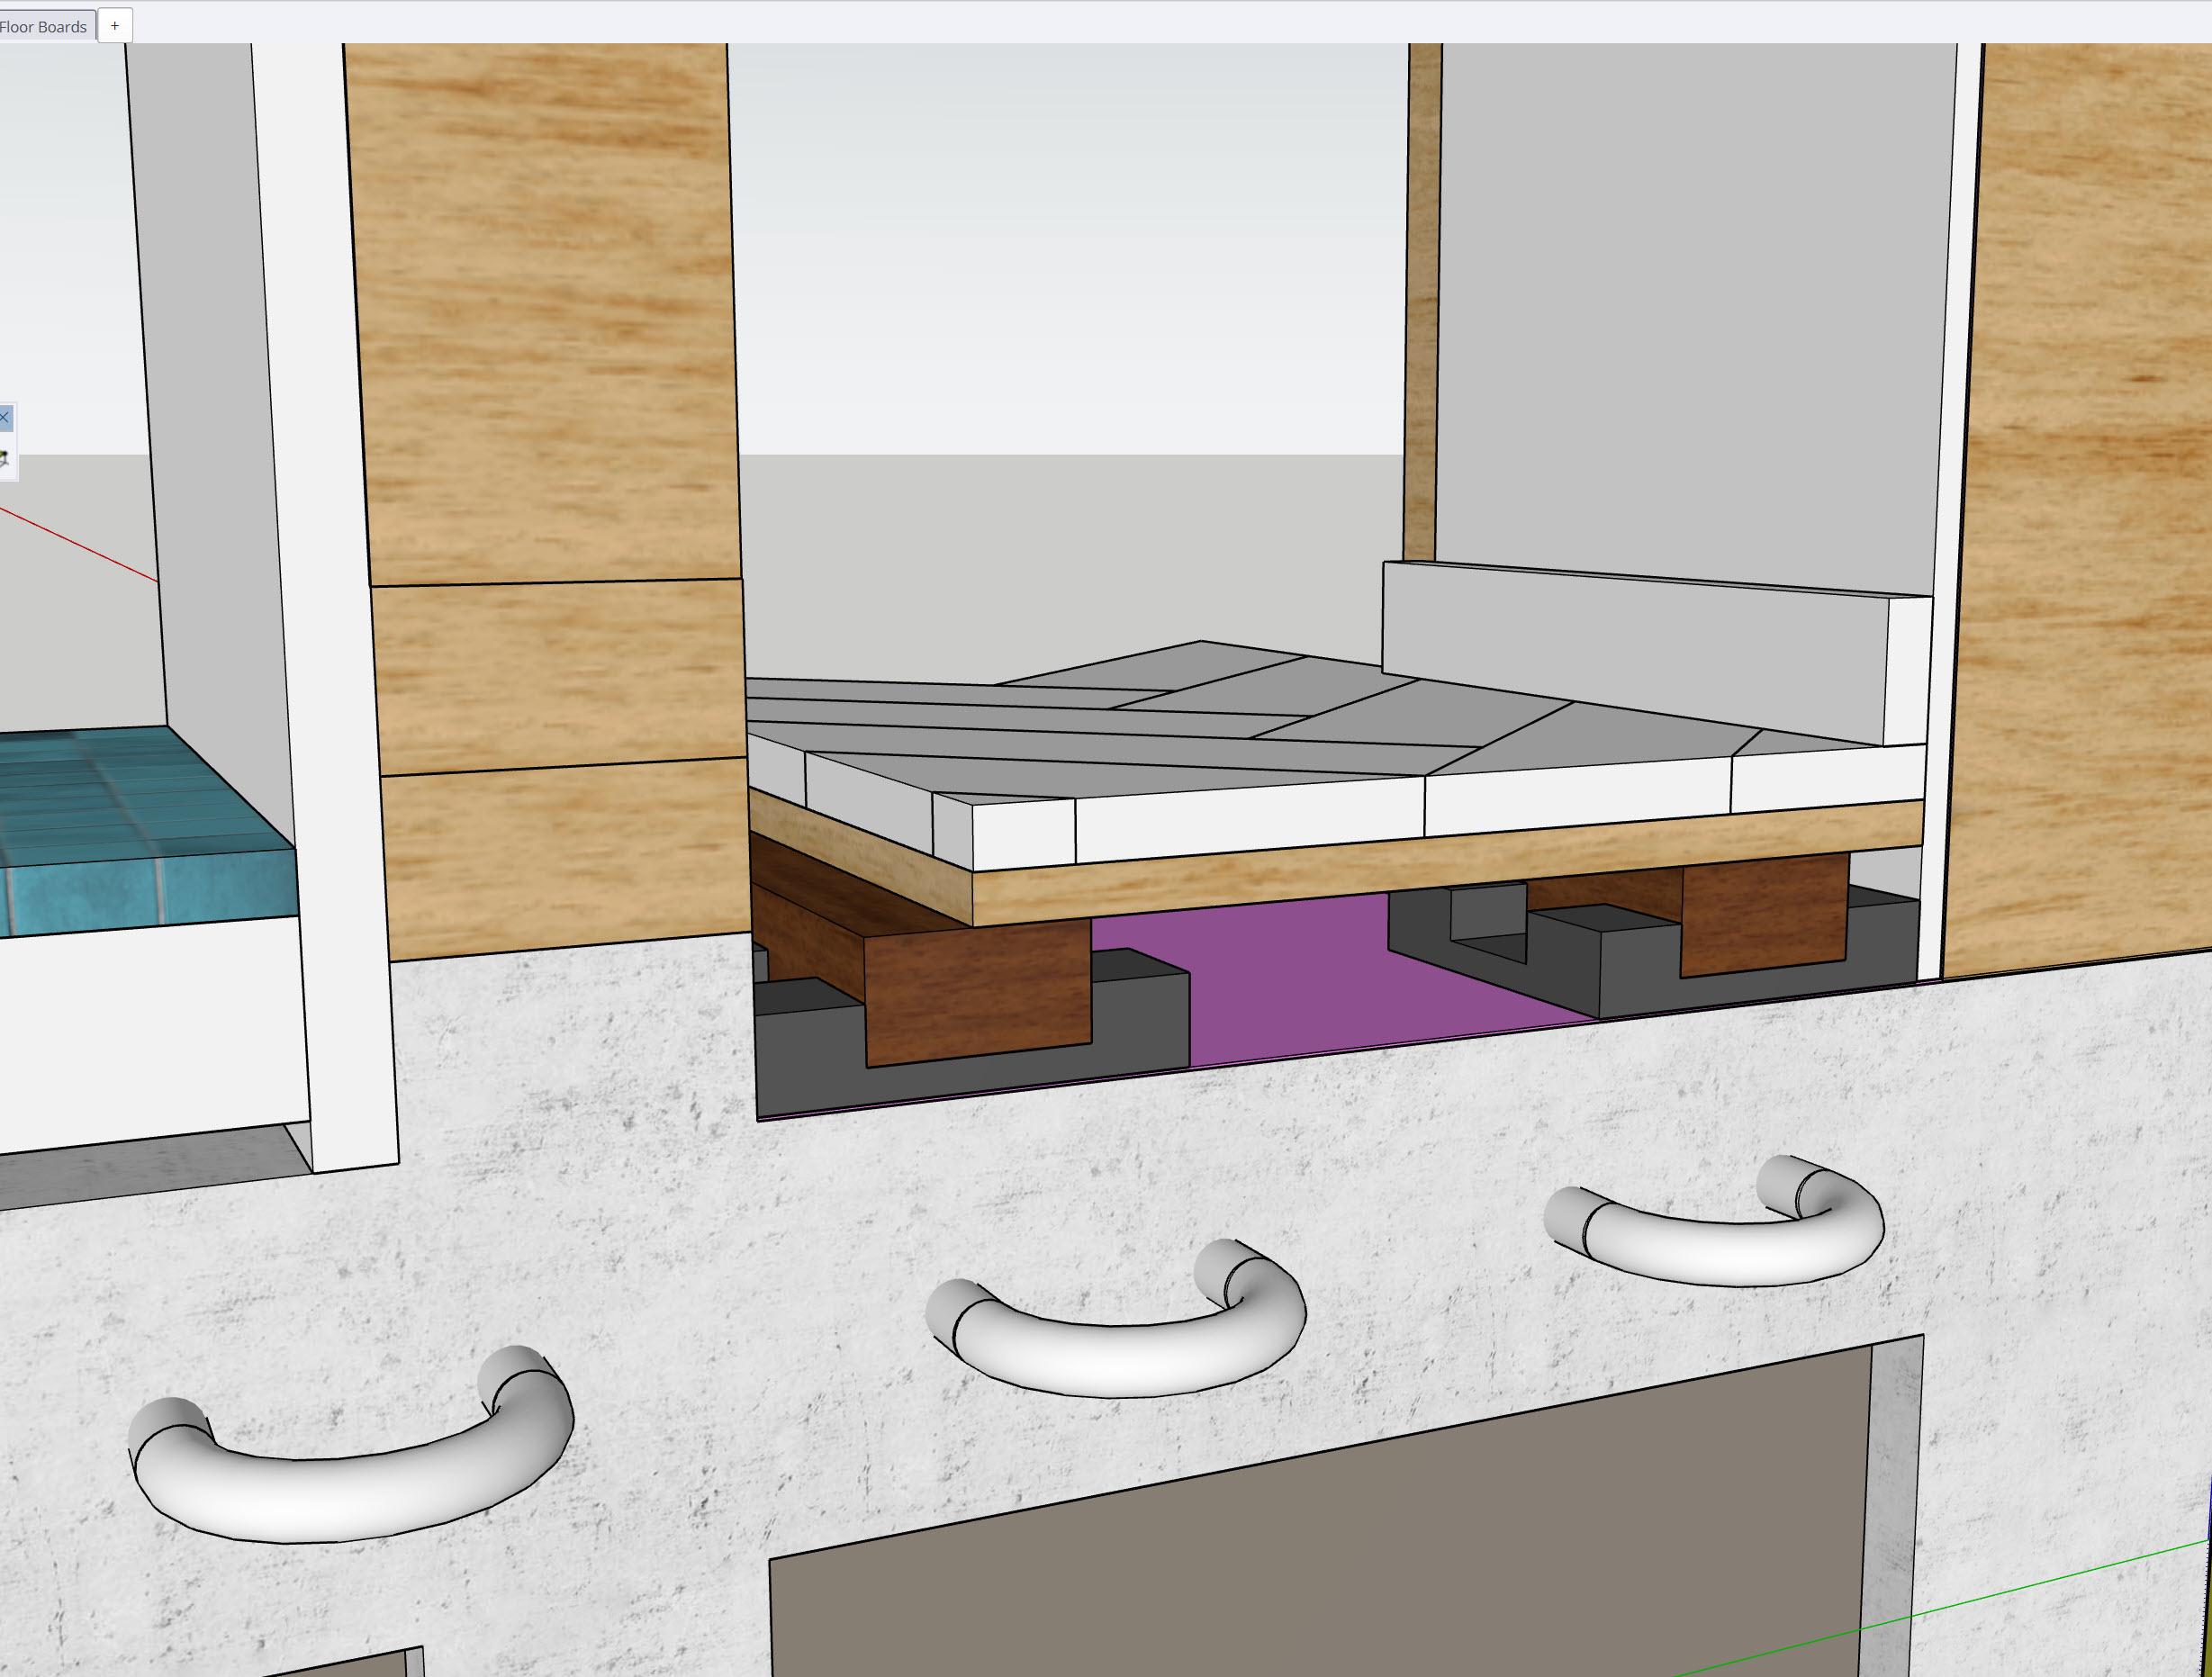
The trade-off is real: battens and an air gap sit between the slab and the timber, so the hydronic output through these areas drops considerably. That’s a deliberate choice. We get comfortable underfoot warmth without overheating the timber, and the wood heater covers air temperature when we want it.
Hydronics
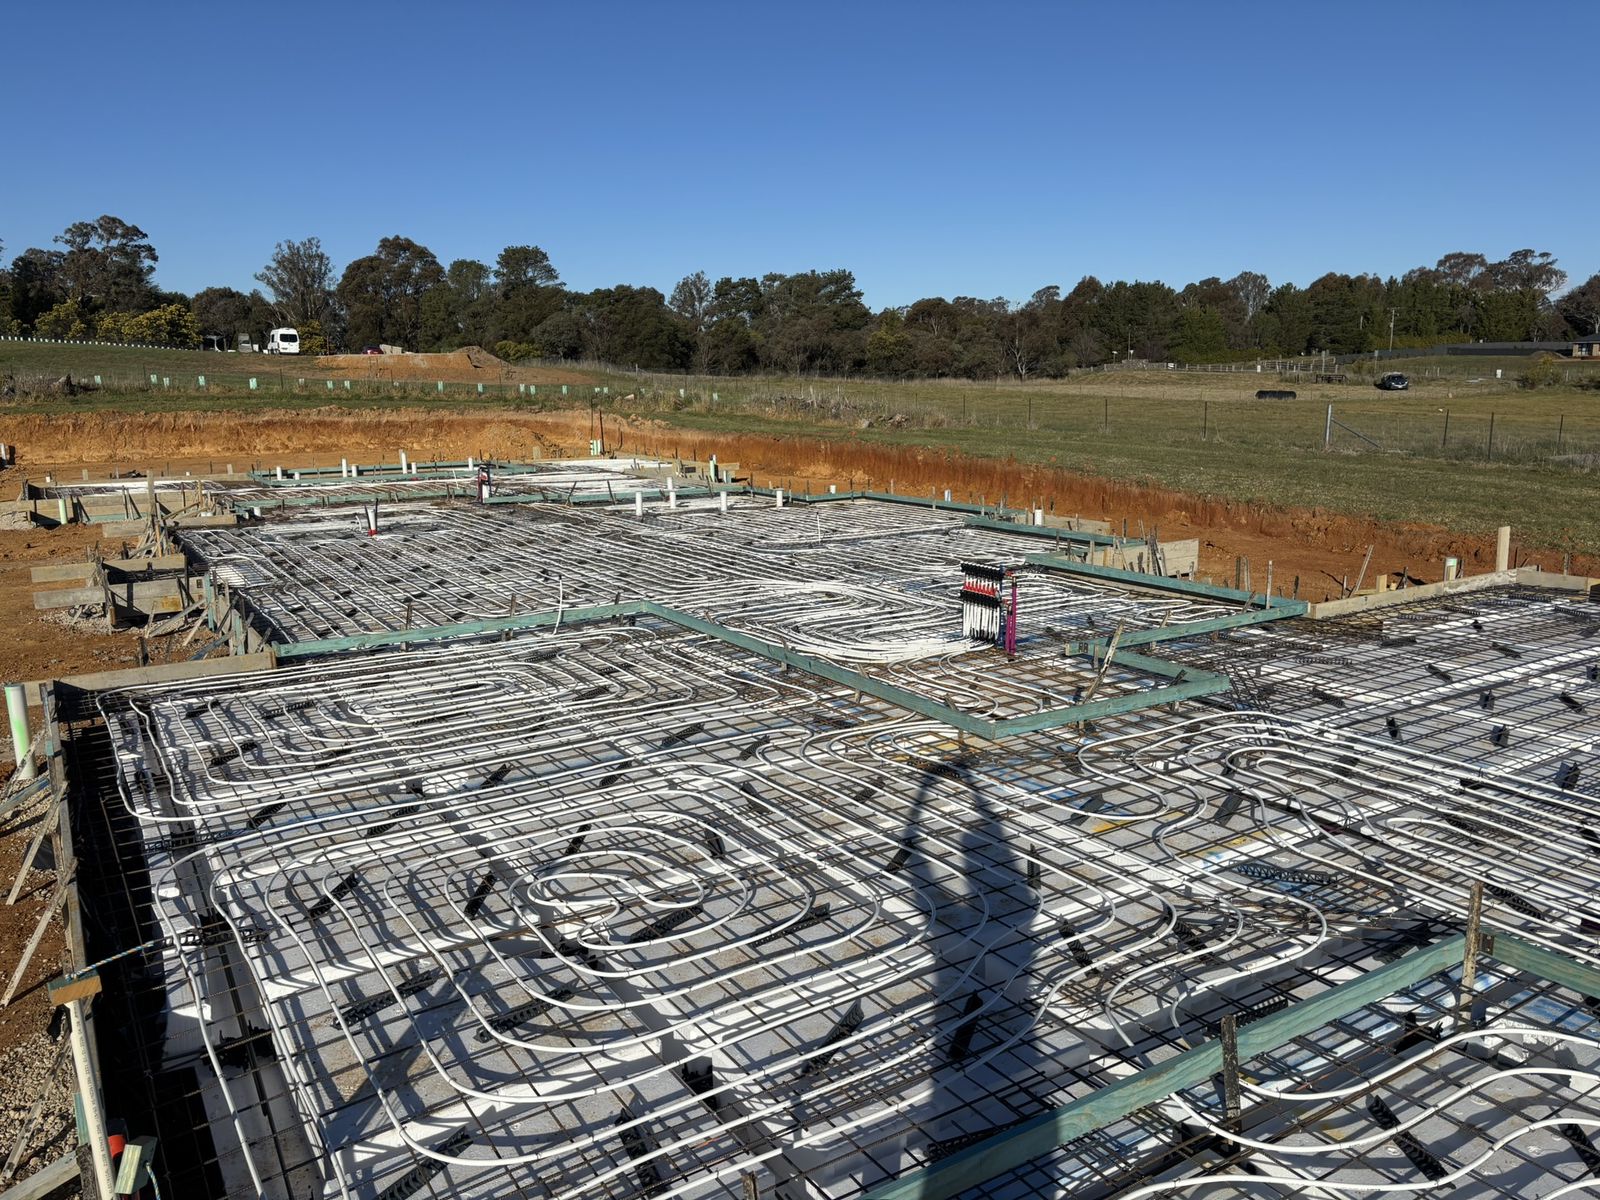
We went in-slab rather than in-screed — more thermal mass and a slower response, which suits a house that holds its temperature.
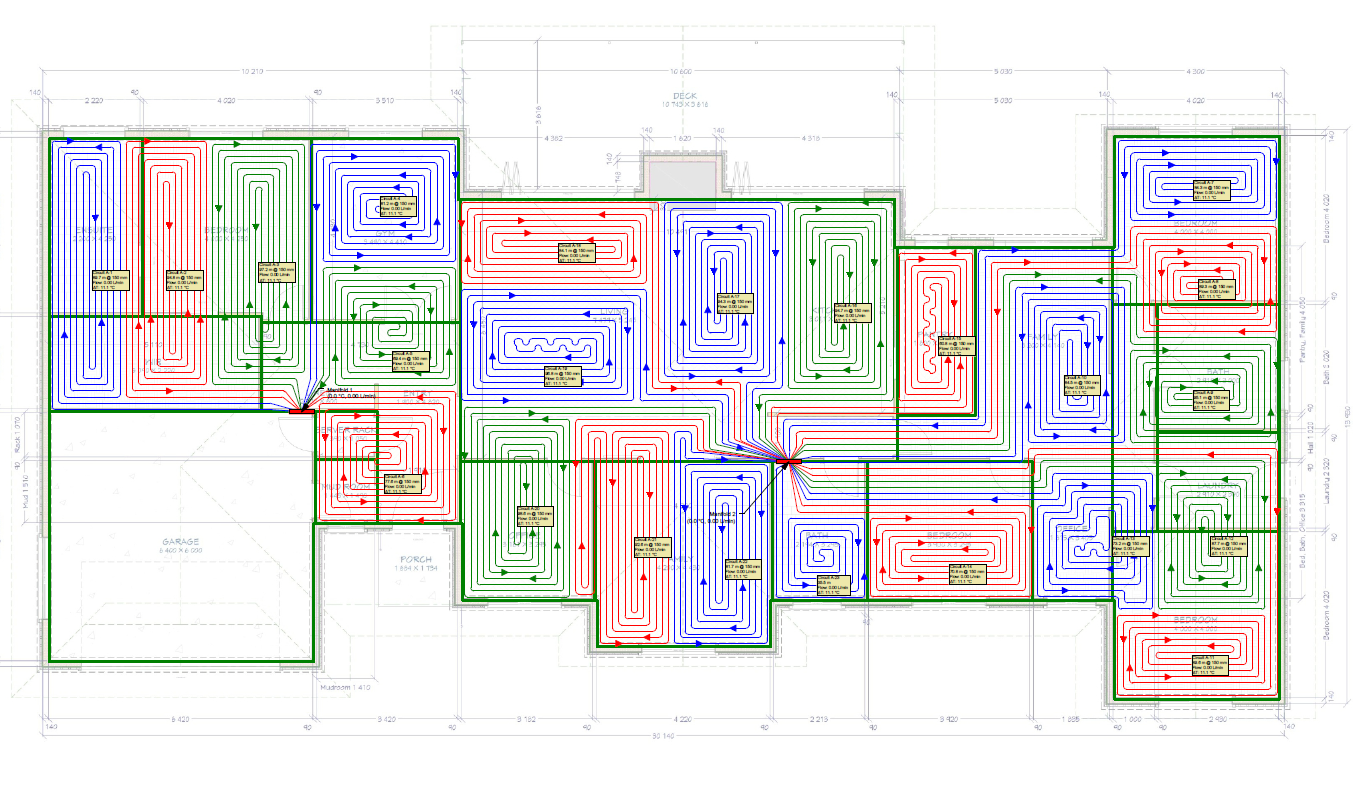
I did the loop calculations and layout myself in LoopCAD, then had a local hydronics company validated the design.
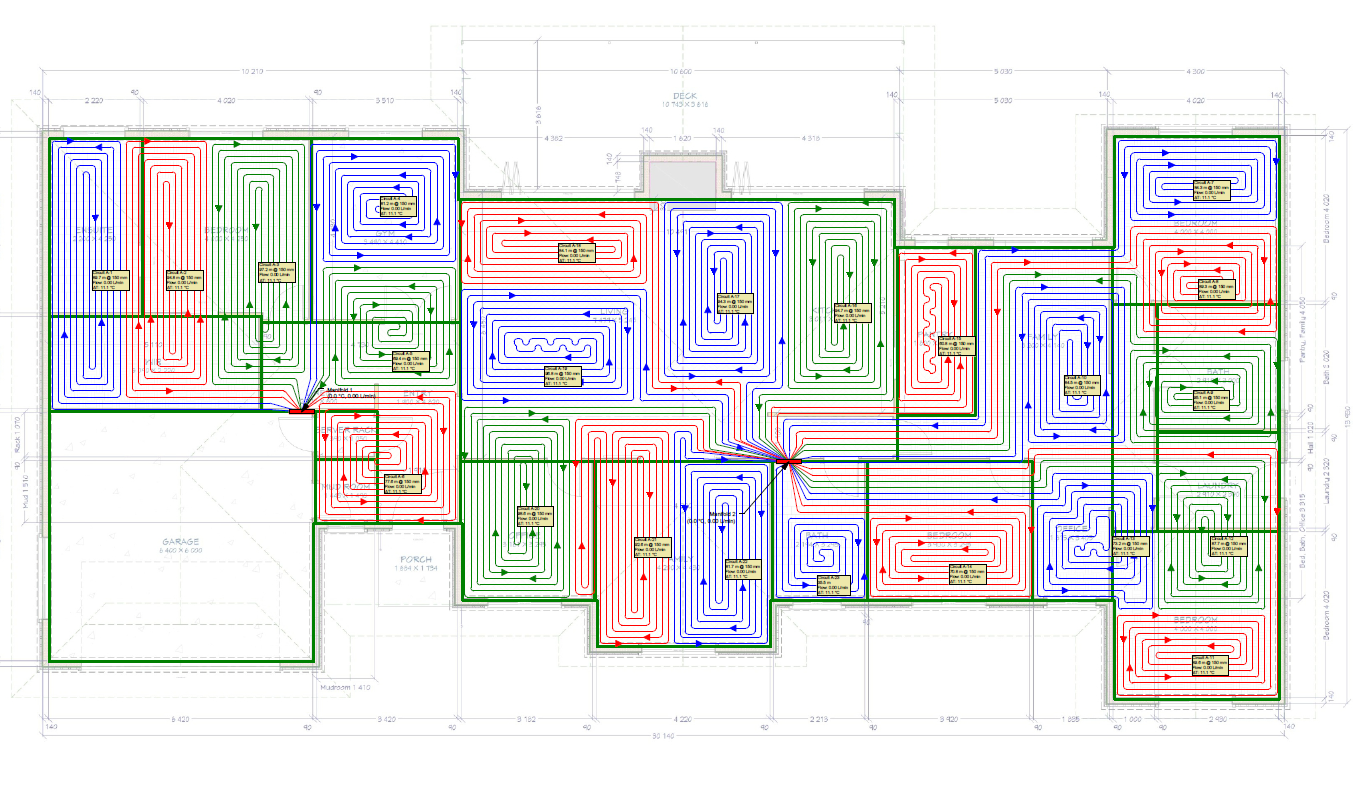
Note to Self: I need to update my LoopCAD drawings to match the as-built.
Spec:
- Rehau main supply piping
- Near-identical loop lengths with 16mm piping at 200mm centres, so the manifolds self-balance
- Whole slab heated except the server room and garage
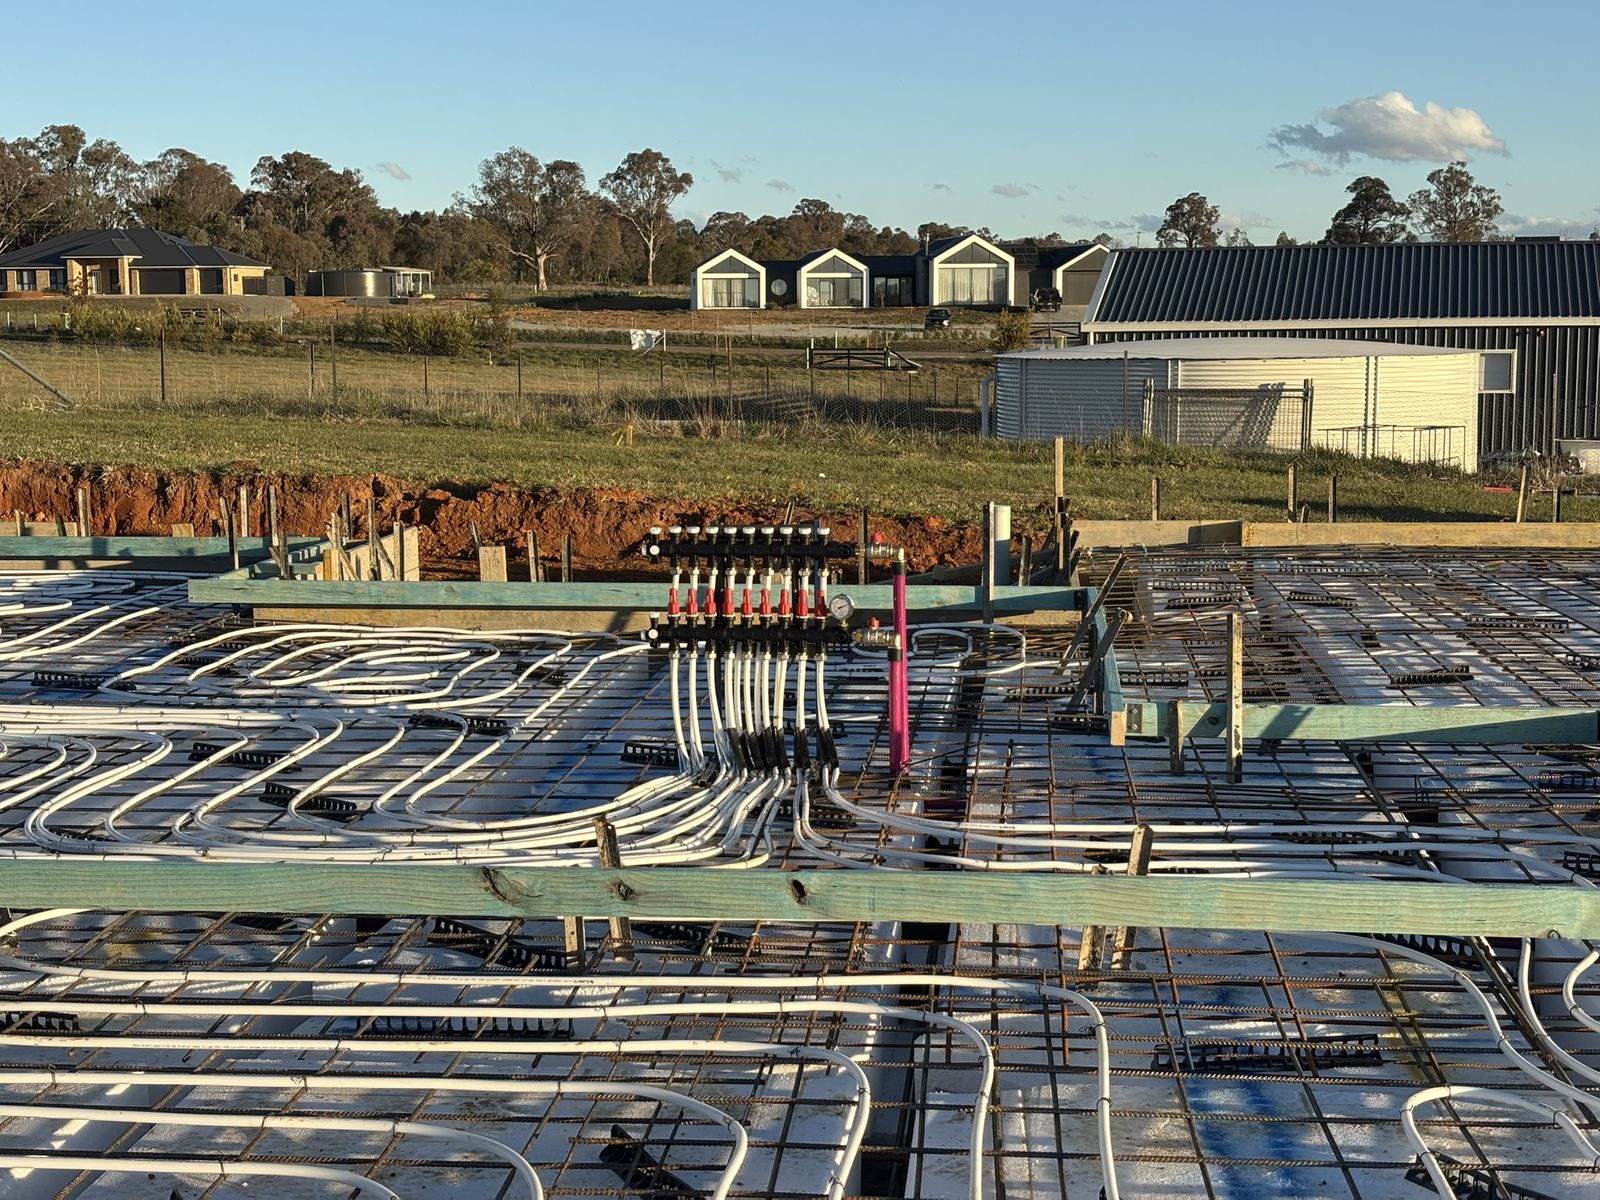
- 2x Uponor manifolds, at the one-third and two-thirds points of the house
Installation, did the pressure hold?
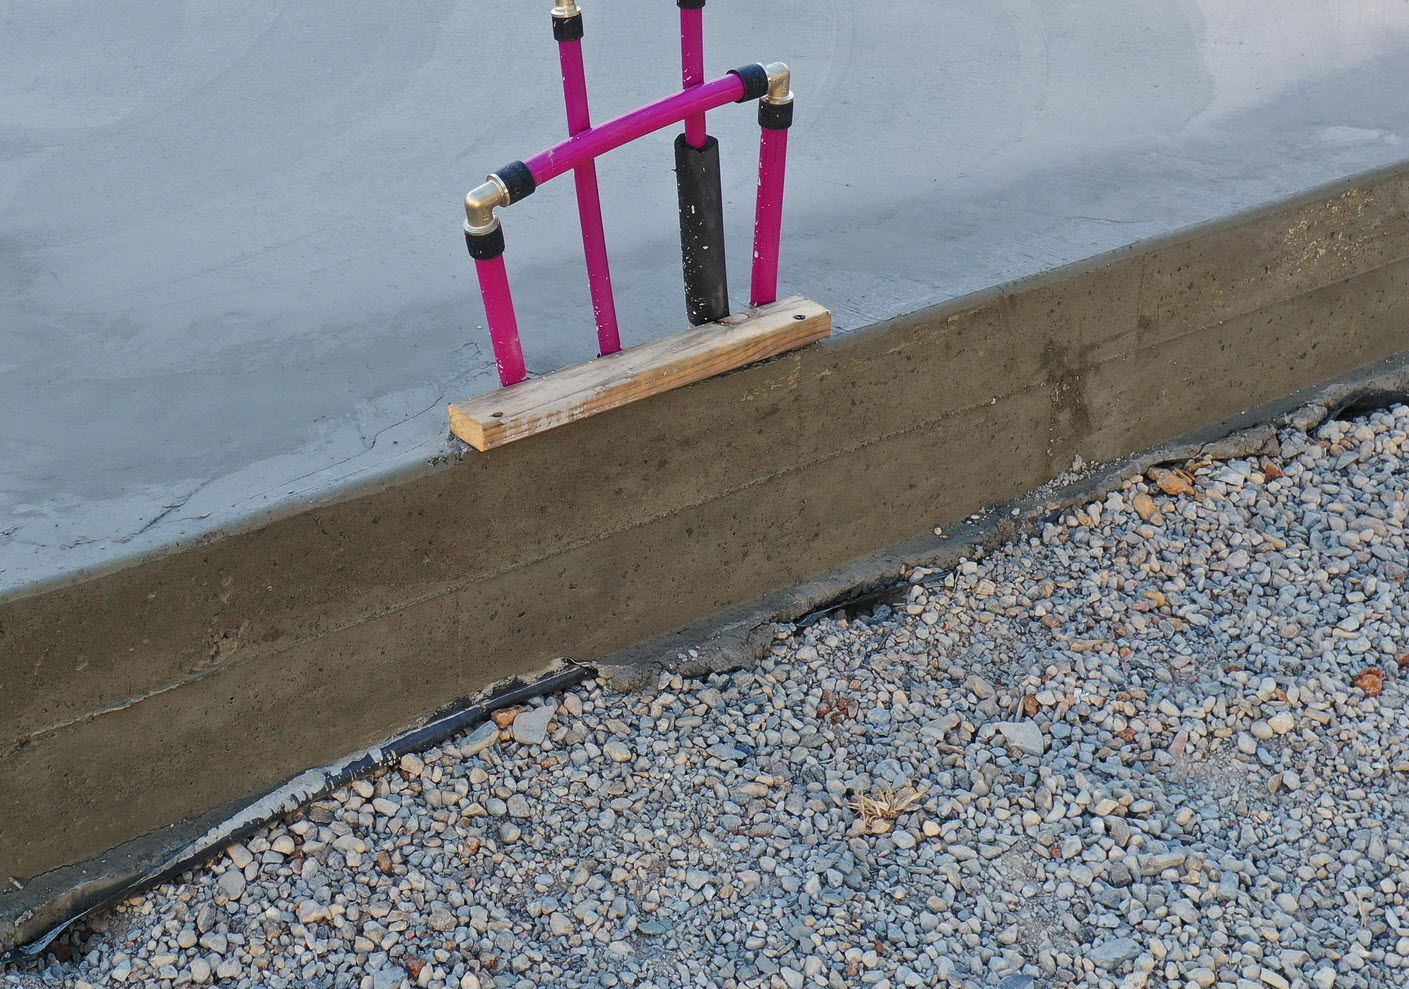
The slab pour went without a hitch and pressuris held the entire time and 2 weeks later with me writing this hasn’t lost any pressure.
Costings
Stage cost: ~$7,000 for piping, fittings, manifolds, actuators and pressure gauges.
The heat source is still open, and comes down to how much solar we get in. Hit the target and I can size a buffer tank so it effectively runs for free outside production hours. Fall short and I’ll look at a wood or pellet boiler, or possibly both.
Documentation
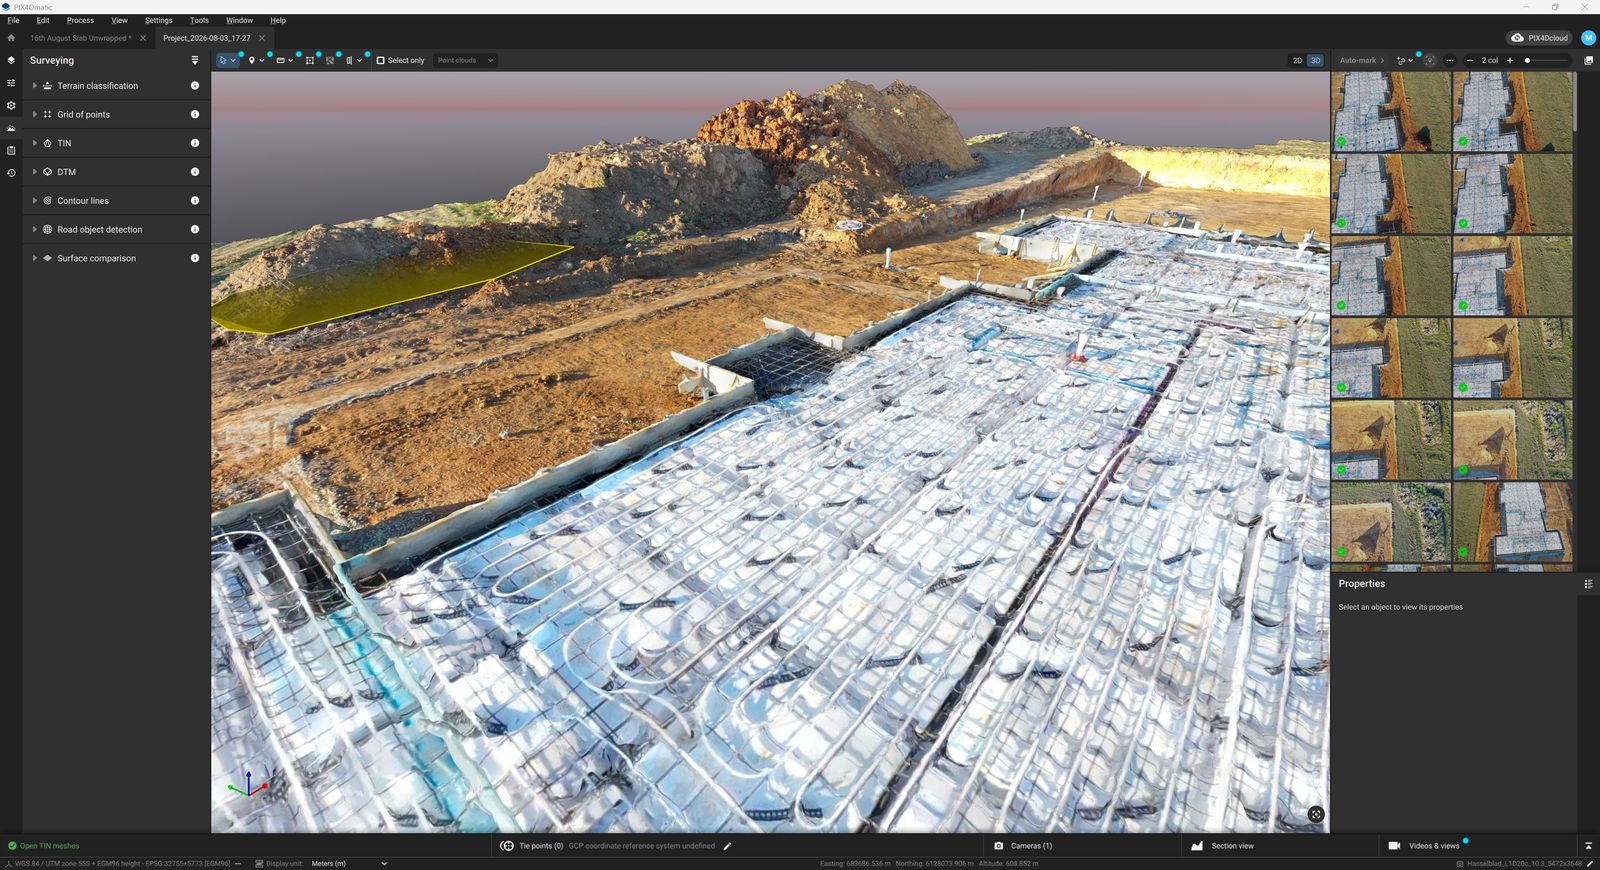
I have extensive as-built documentation detailing exactly where every pipe is, including a 3D survey georeferenced to MGA2020 Zone 55 — the same coordinate system as the surveyor’s setout. A surveyor picked up five GCPs on the property and I targeted them permanently, so I can re-fly the site any time and have every survey land in the same coordinate space as the last.
Here is the 3D model in Pix4DMatic. I also have the same for stormwater & drainage, and using it to track our cut/fill volumes.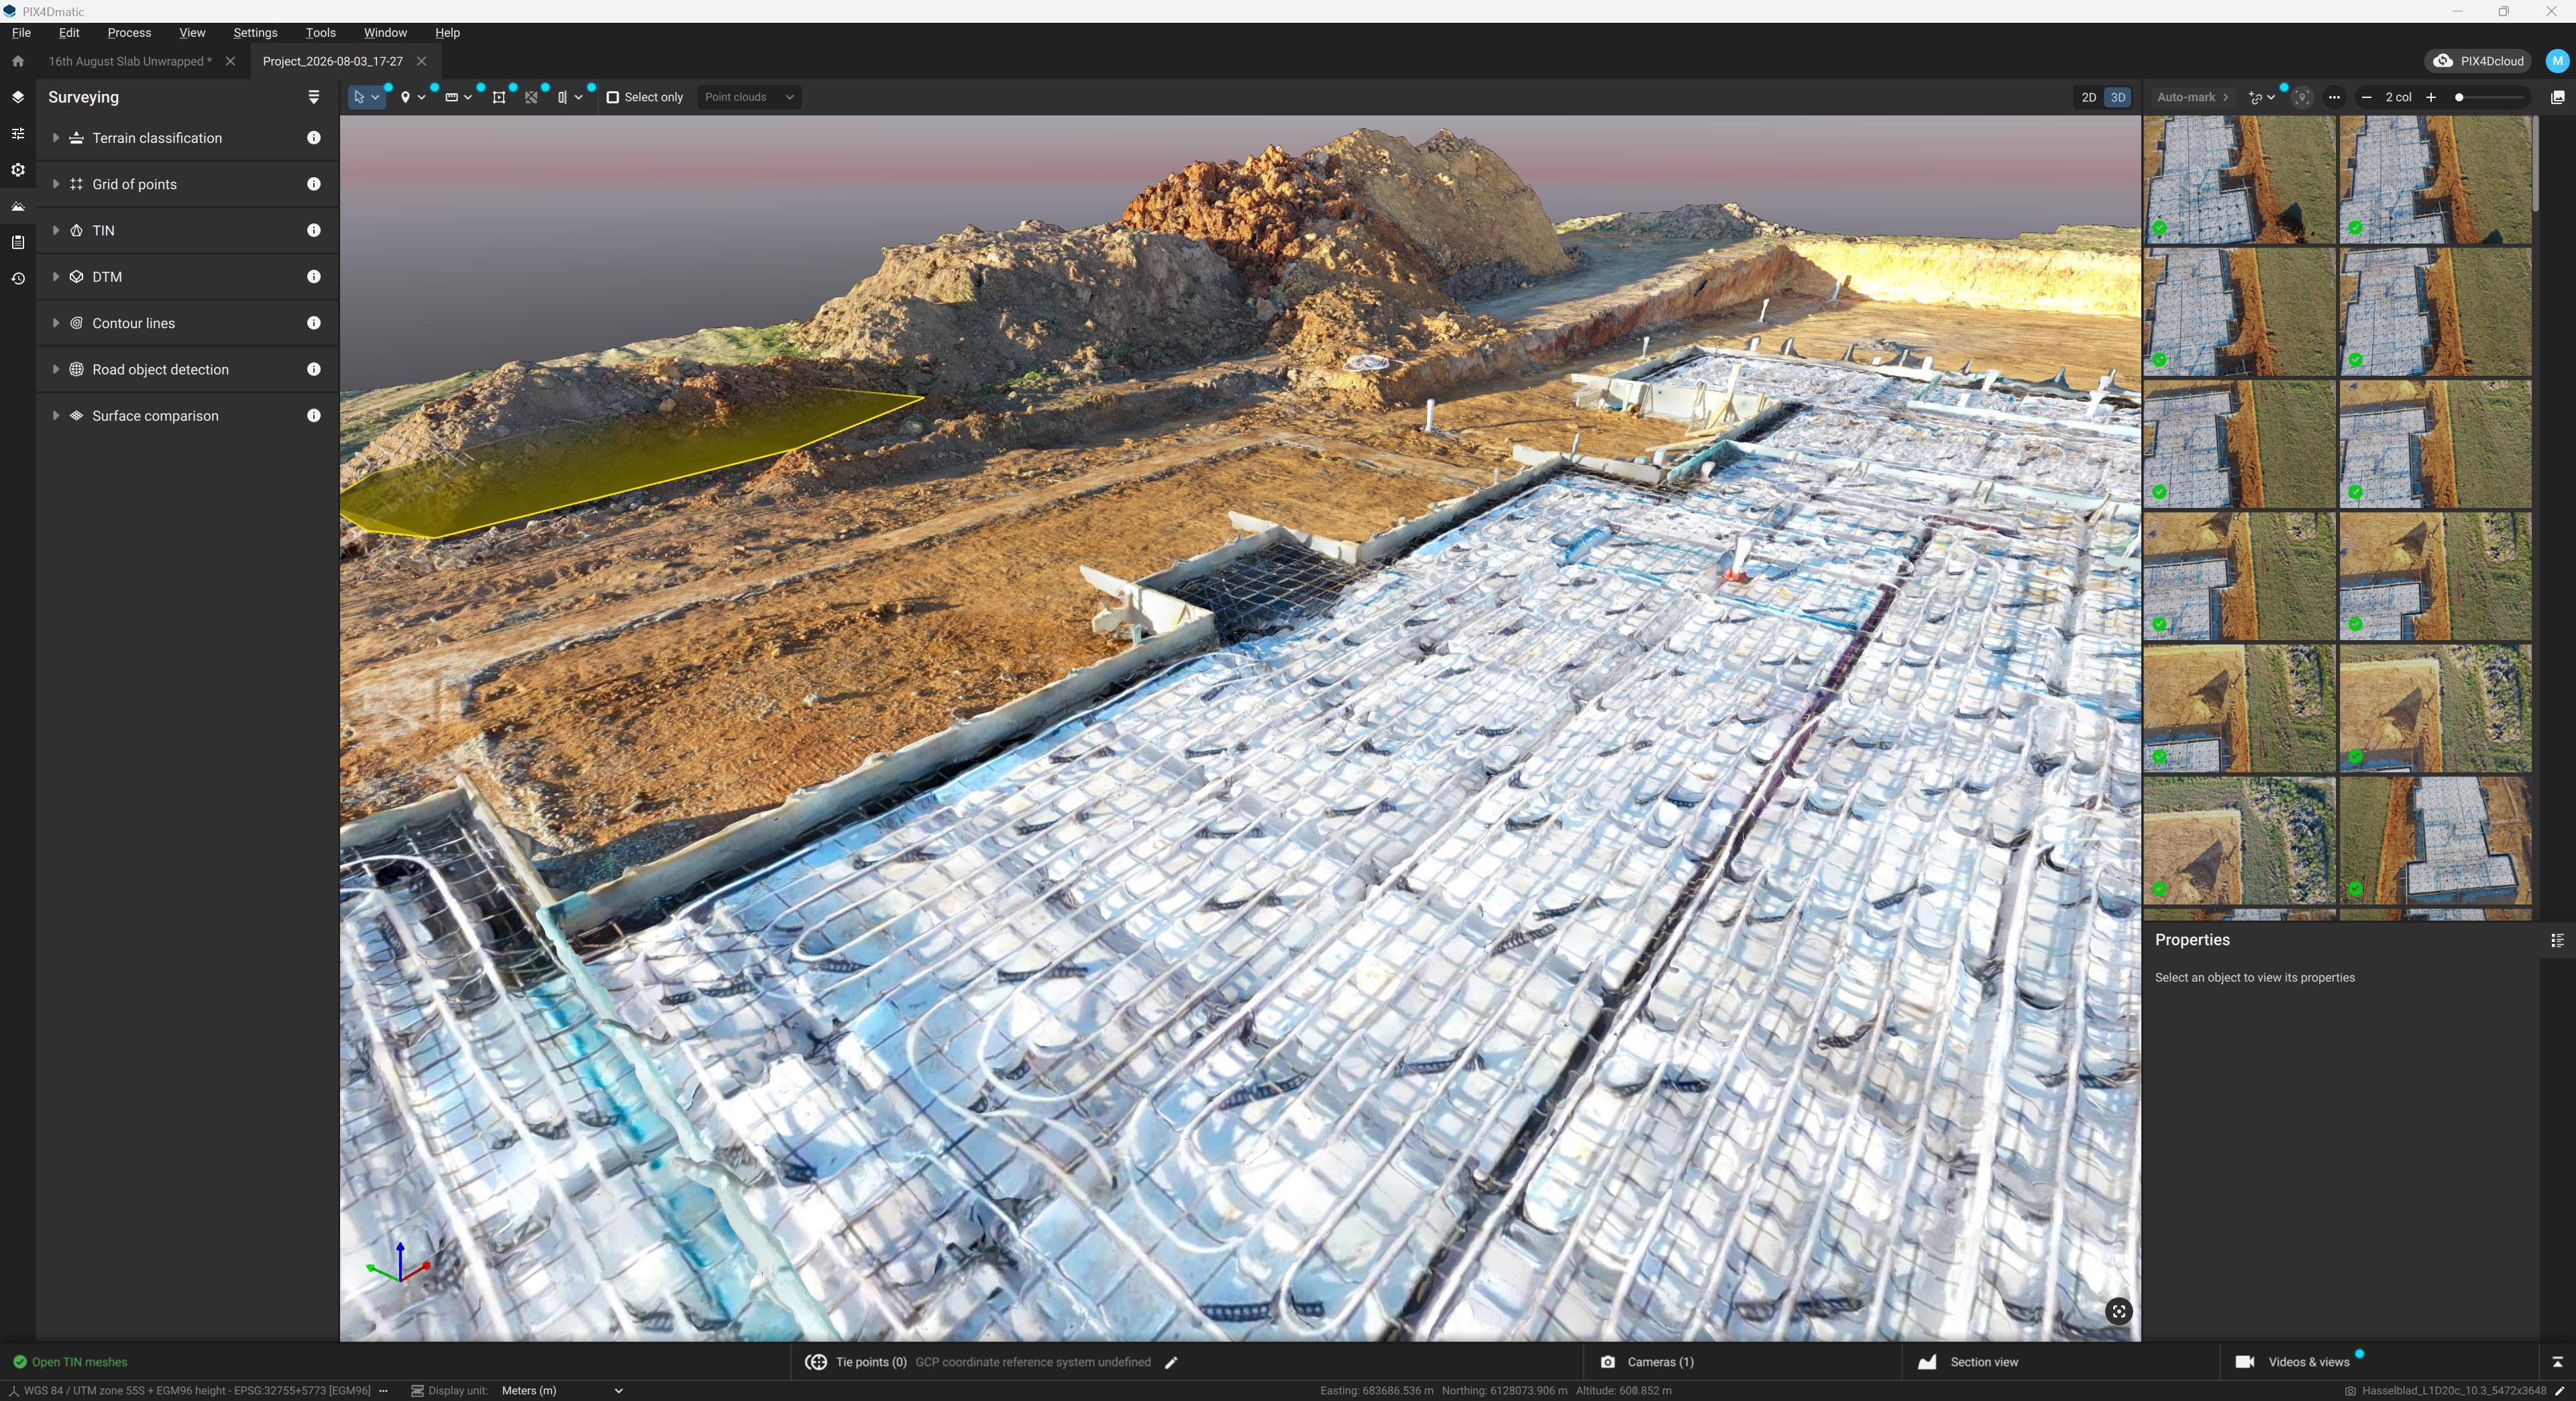
Electronics & Monitoring
In the slab is:
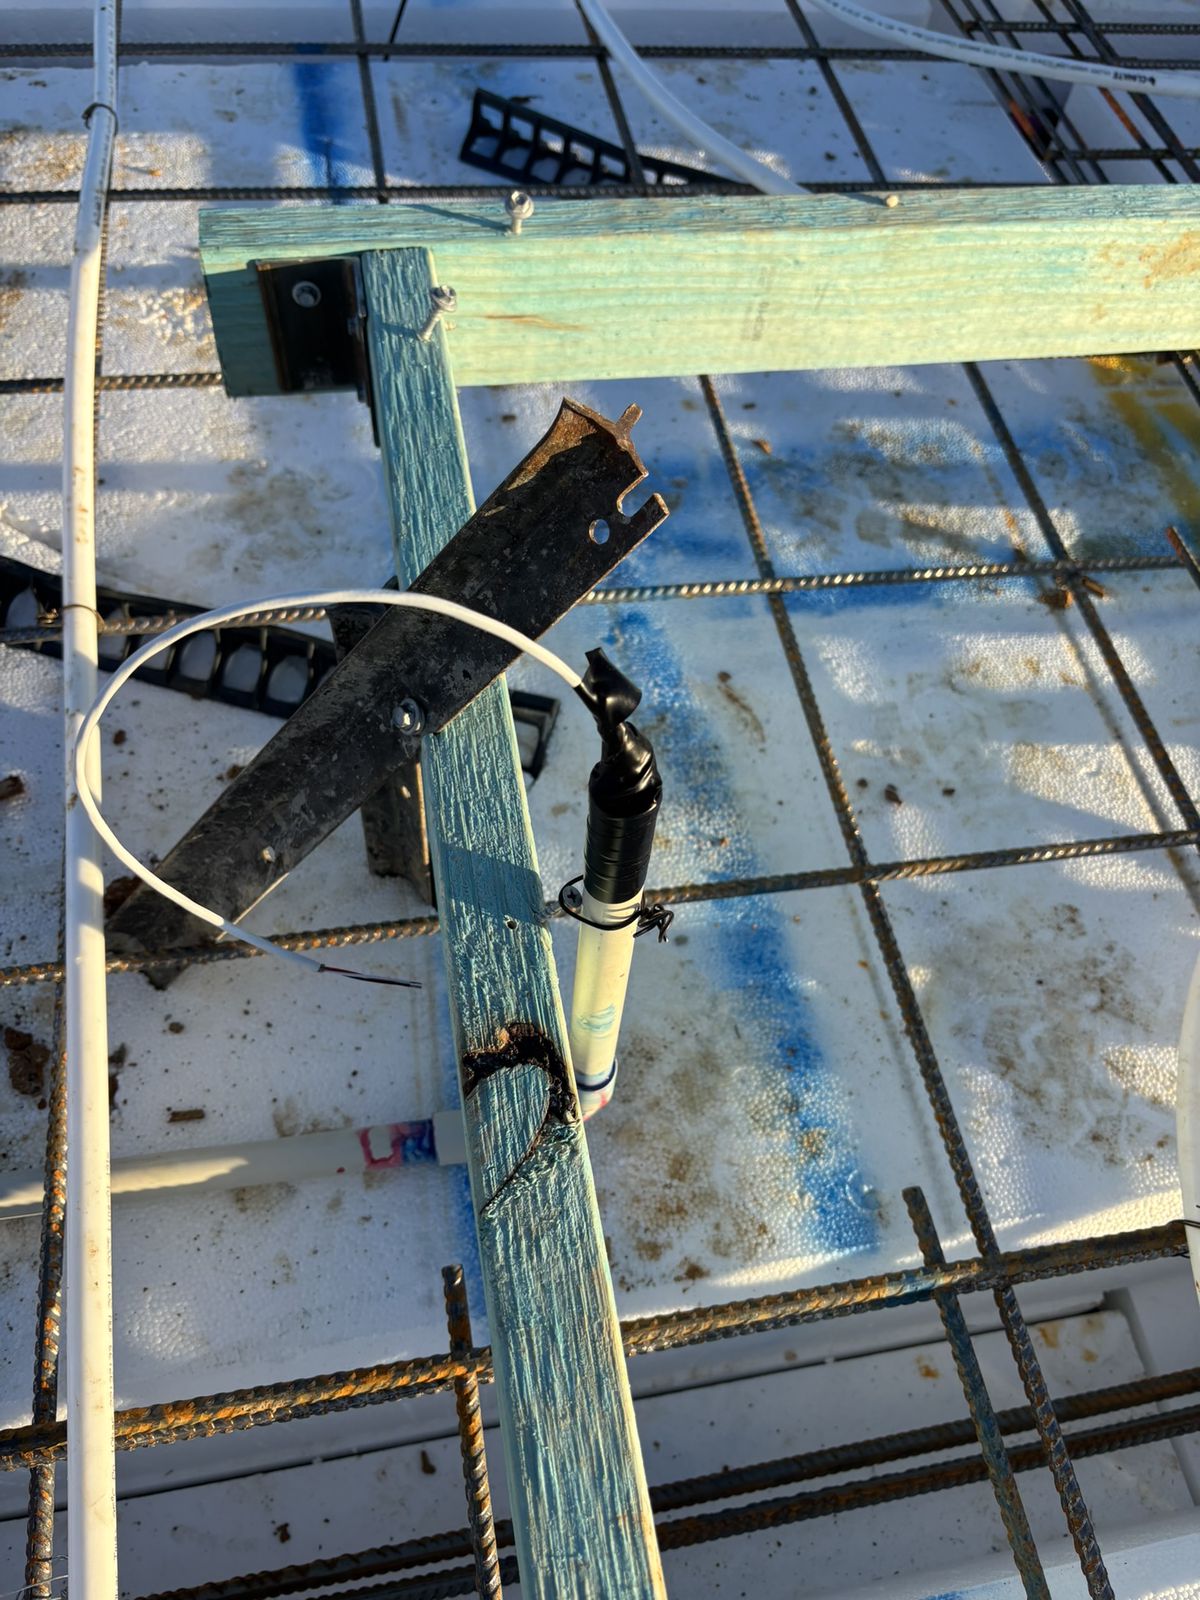
- 2x Temporary sensors from hydronic supplier.
- 6x Temperture sensors (DS18B20) installed by me, at varying depths and zones/locations. These will be brought into our KNX system.
Concrete Pour Day
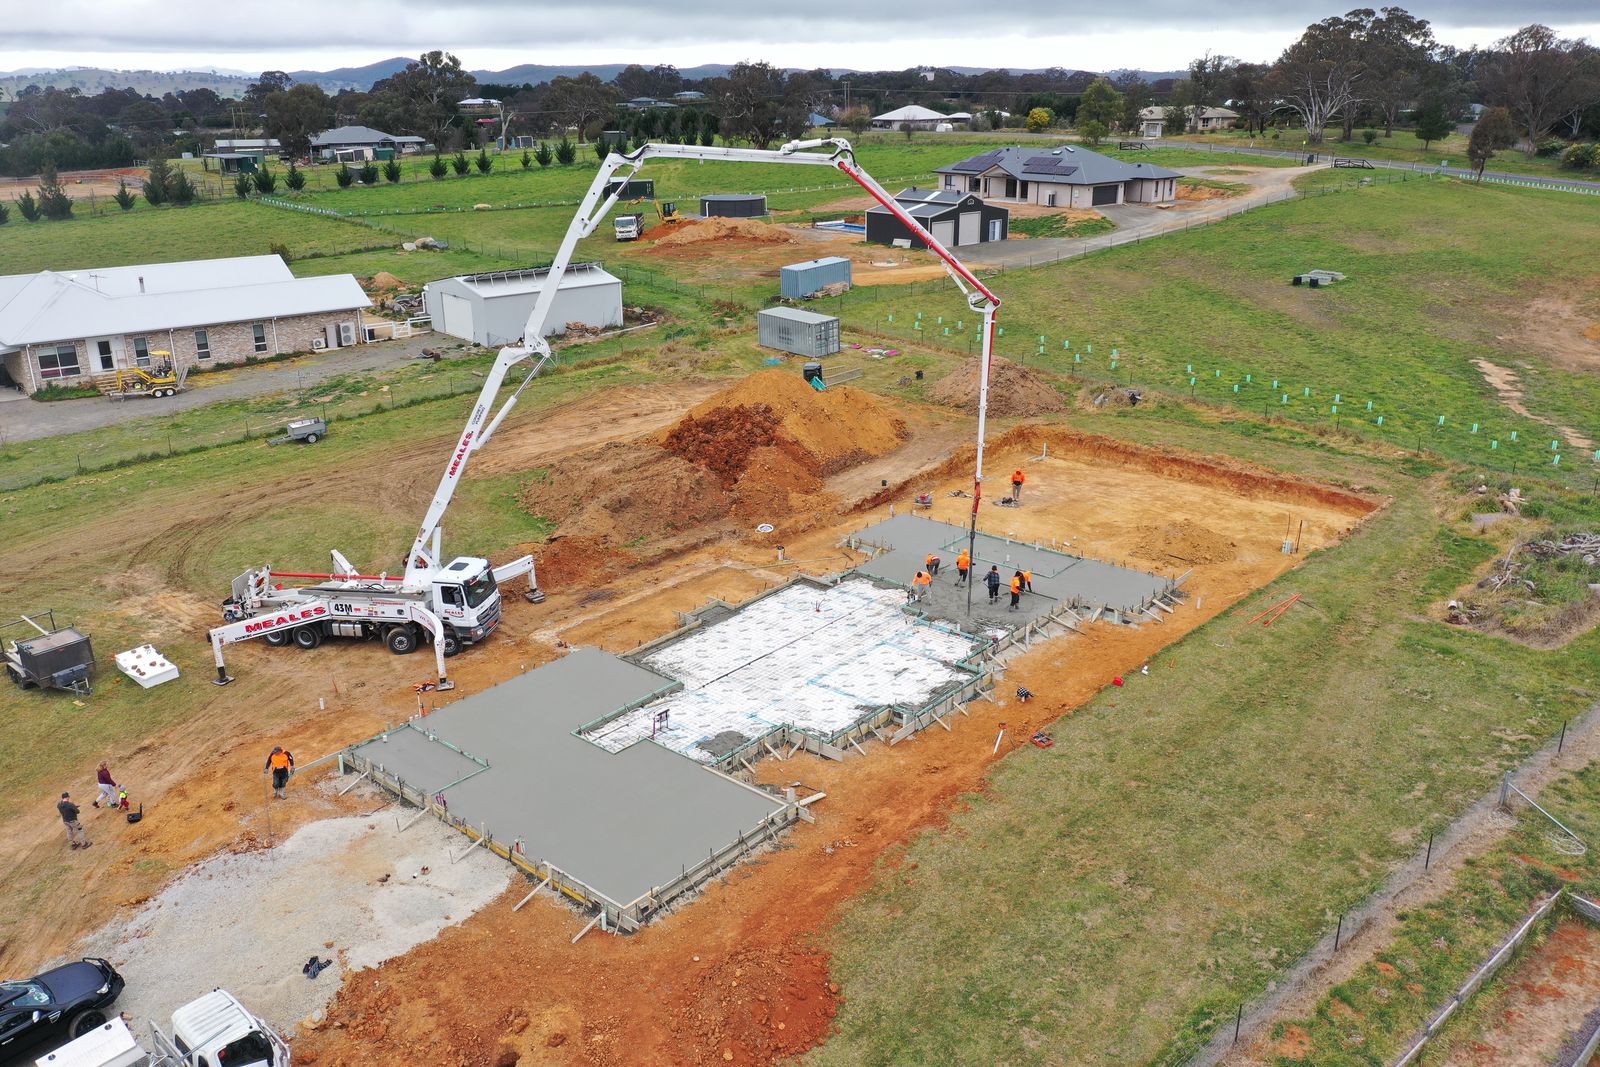
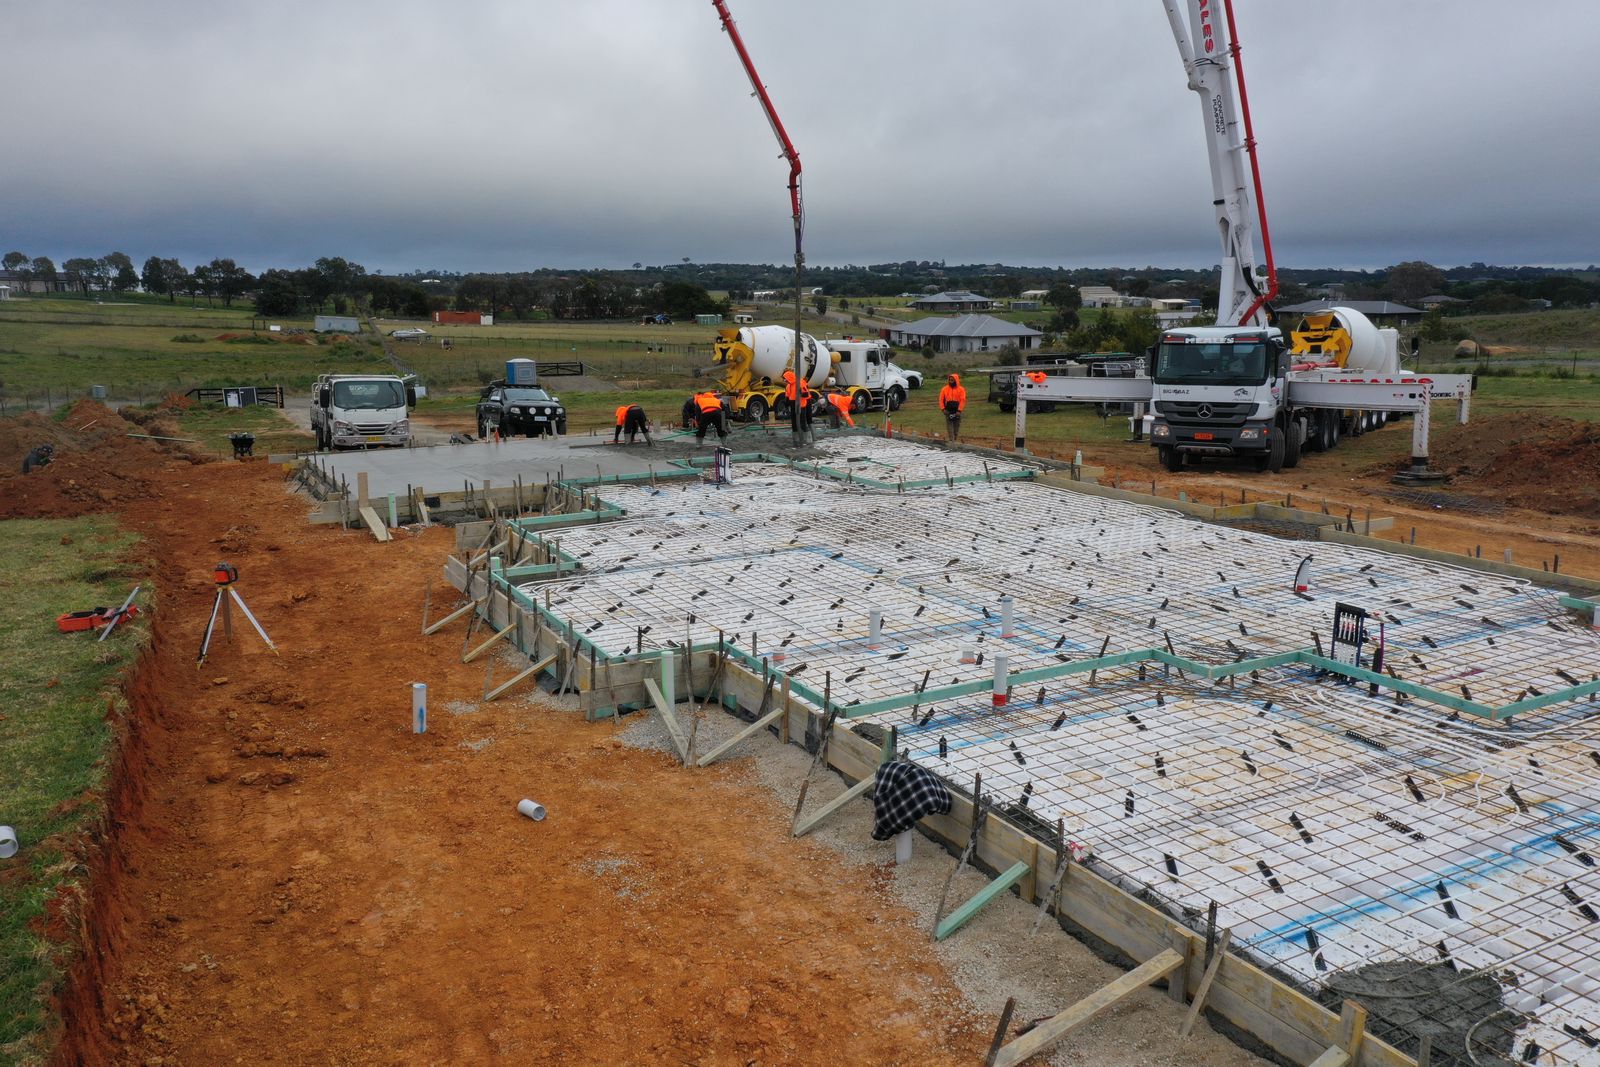
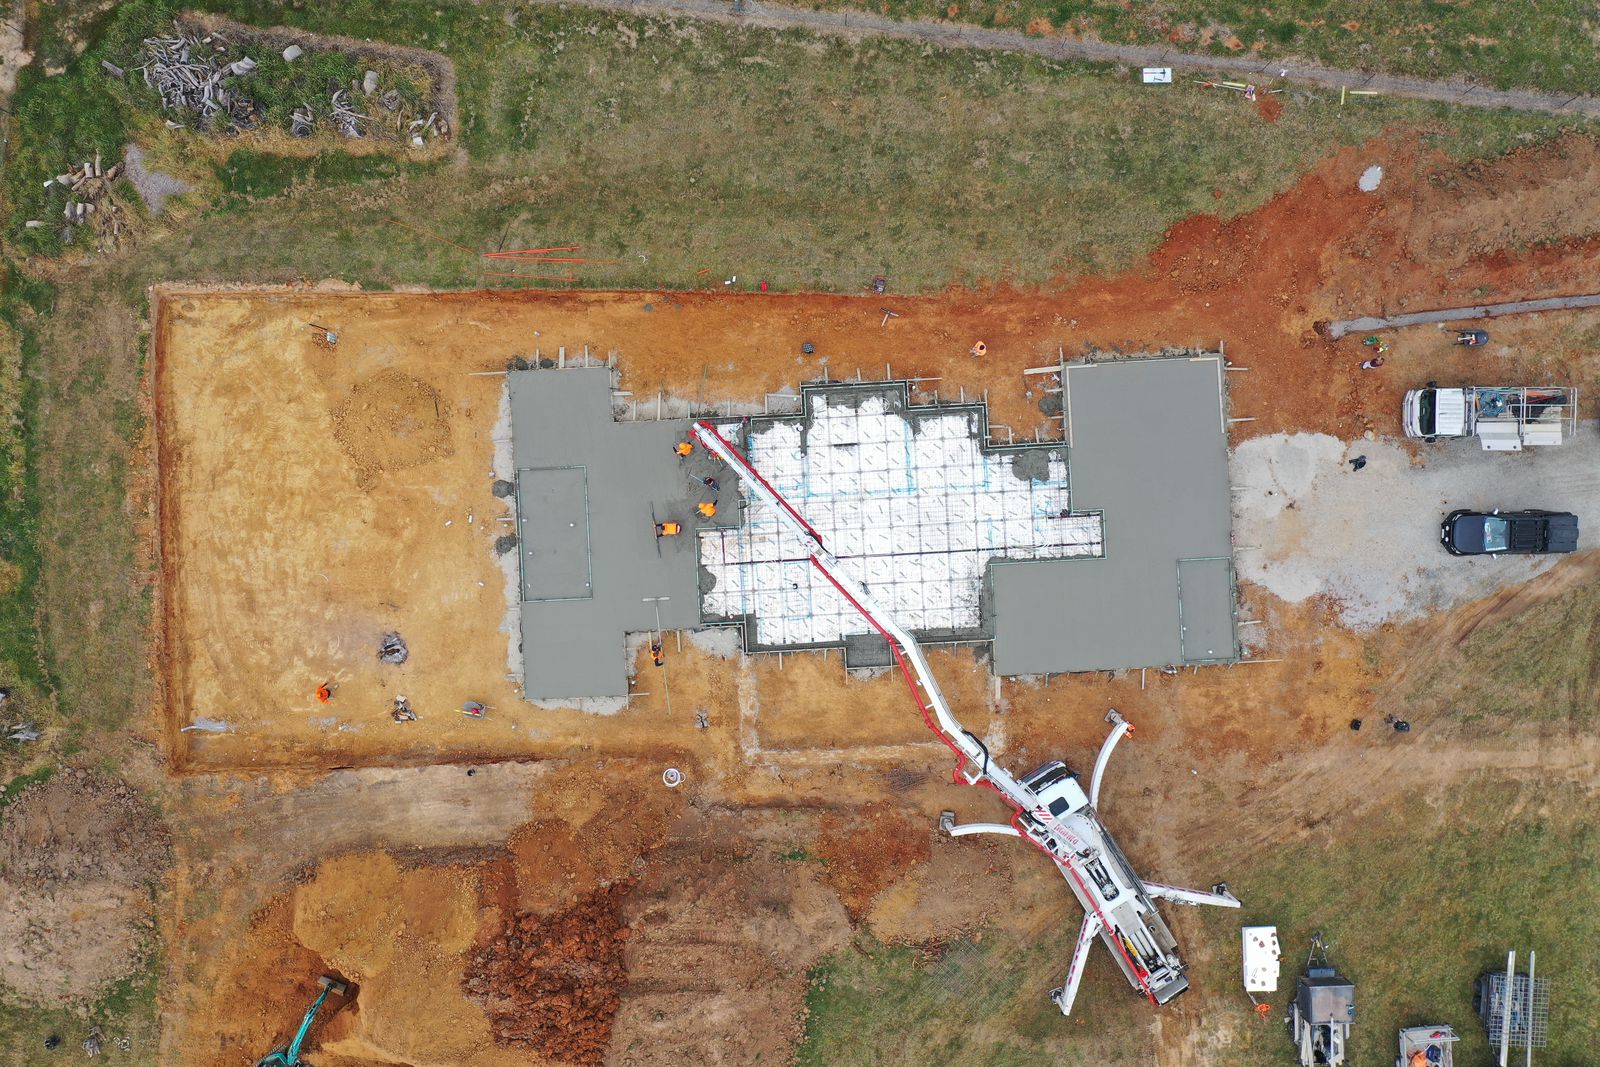
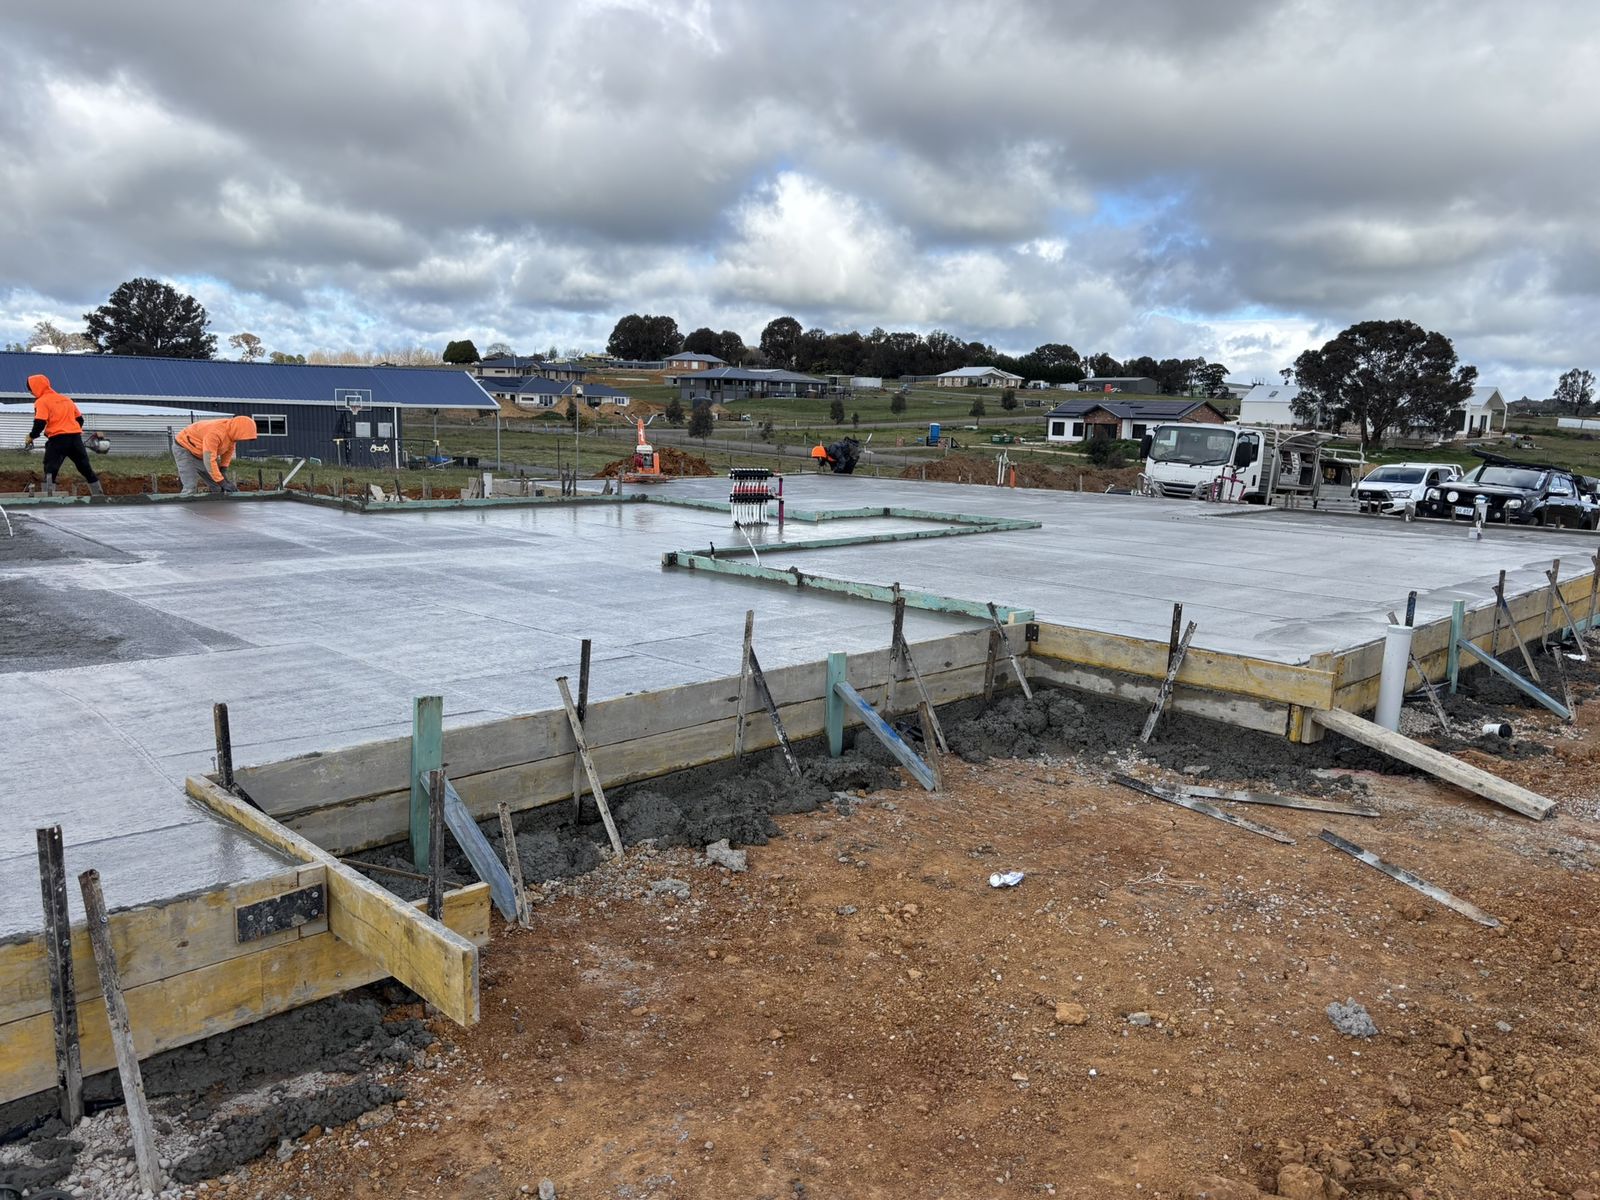
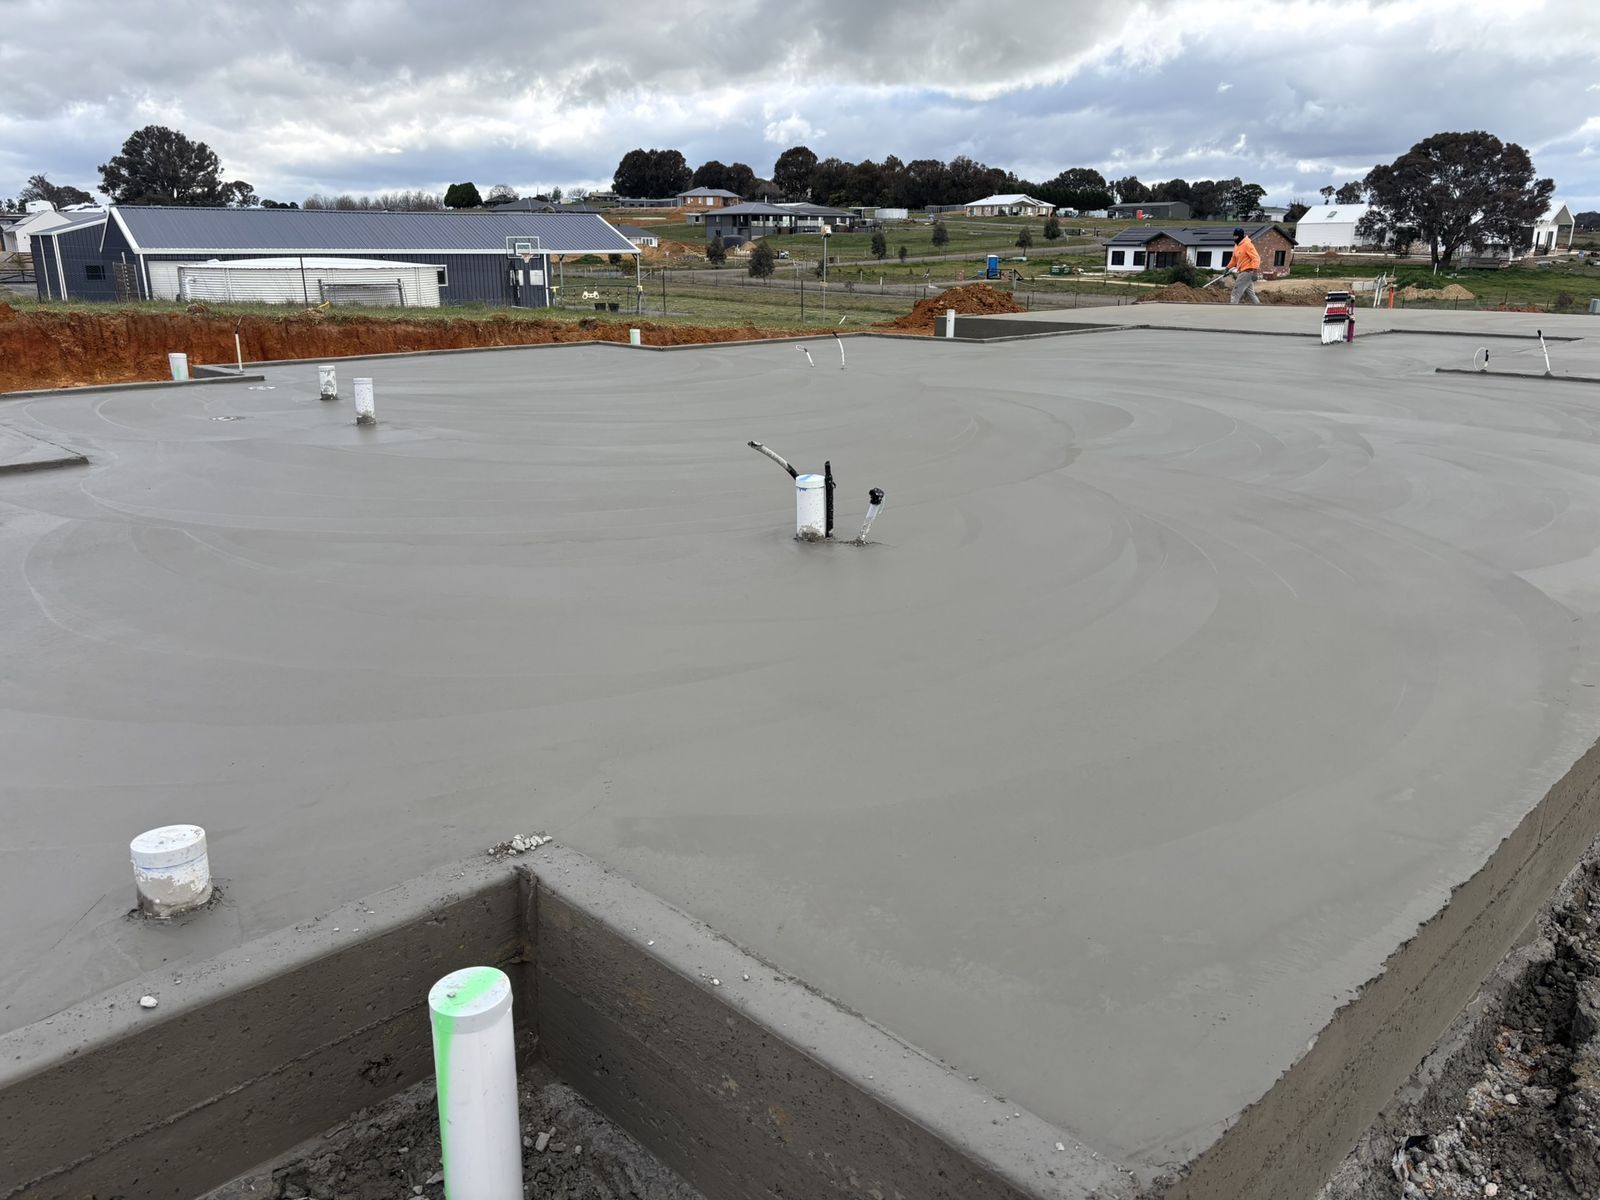
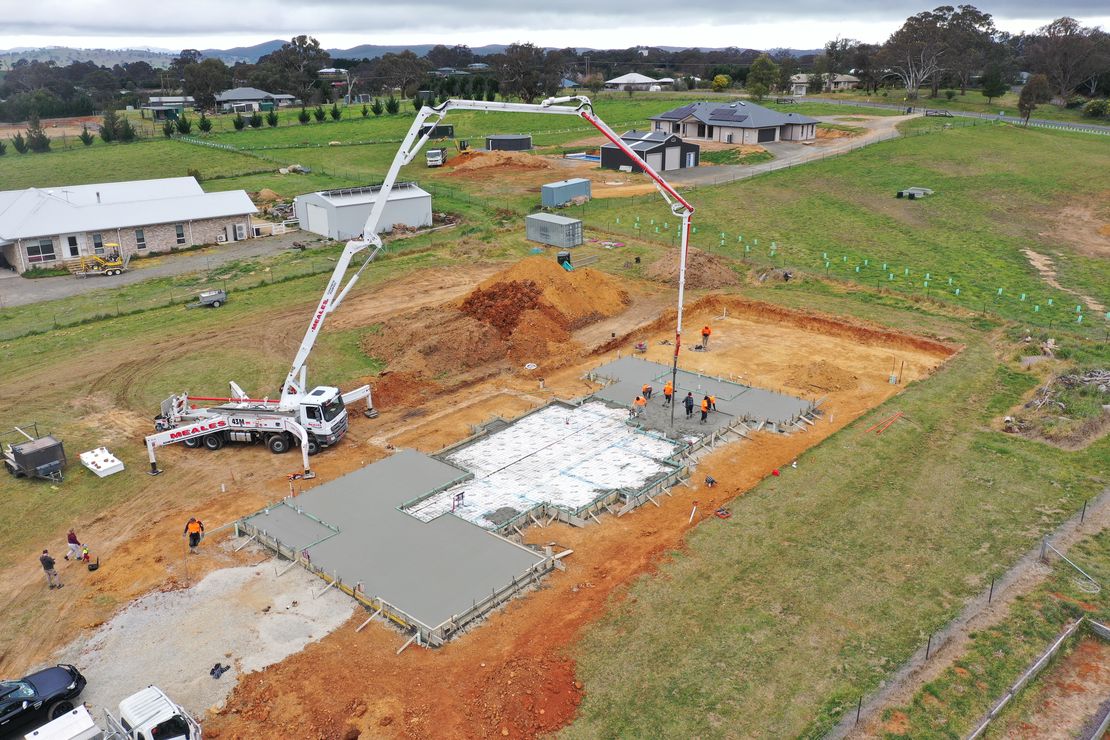
Concrete from Elvin Group, 9 Extra-large trucks and approx. 76sqm of concrete went in. Between 7am and 12-noon, pour went smoothly and the team the builder employed were top-notch!
Note to self:
- Need to get a hold of the delivery dockets.
- Need to find out name of concreters, and leave them a fantastic review.
Challenges Here
- The flexible conduit runs for kitchen island was initially buried. I accidently noticed whilst chipping away the excess concrete on edges, luckily caught it in time to be able to get a crowbar in and fish it out.
Tips and Tricks
- Organise/pay for concrete yourself, you save big here! Our concrete bill was TBC.
- Monitor the pour carefully and keep a keen eye that conduit ends don’t get buried, especially flexible conduits penetrations - ensure they don’t get buried during the pour!
- Chip away any excess concrete from the edges and general tidy/up.
Post-Slab Weather Protection
After the slab was poured, it was wrapped and protected with film and excess EPS foam on edges of the slab that were in the direction of the rain. This should greatly improve the surface quality, prevent cracking and allow the concrete to achive it’s rated strength.
Weather was doing most of the work: 10–12°C maxima and lows and frost overnight. I lifted a random patch of the film every few days to check for condensation on the underside and a damp surface, and left the pooled rainwater where it was. Came off at day 11.
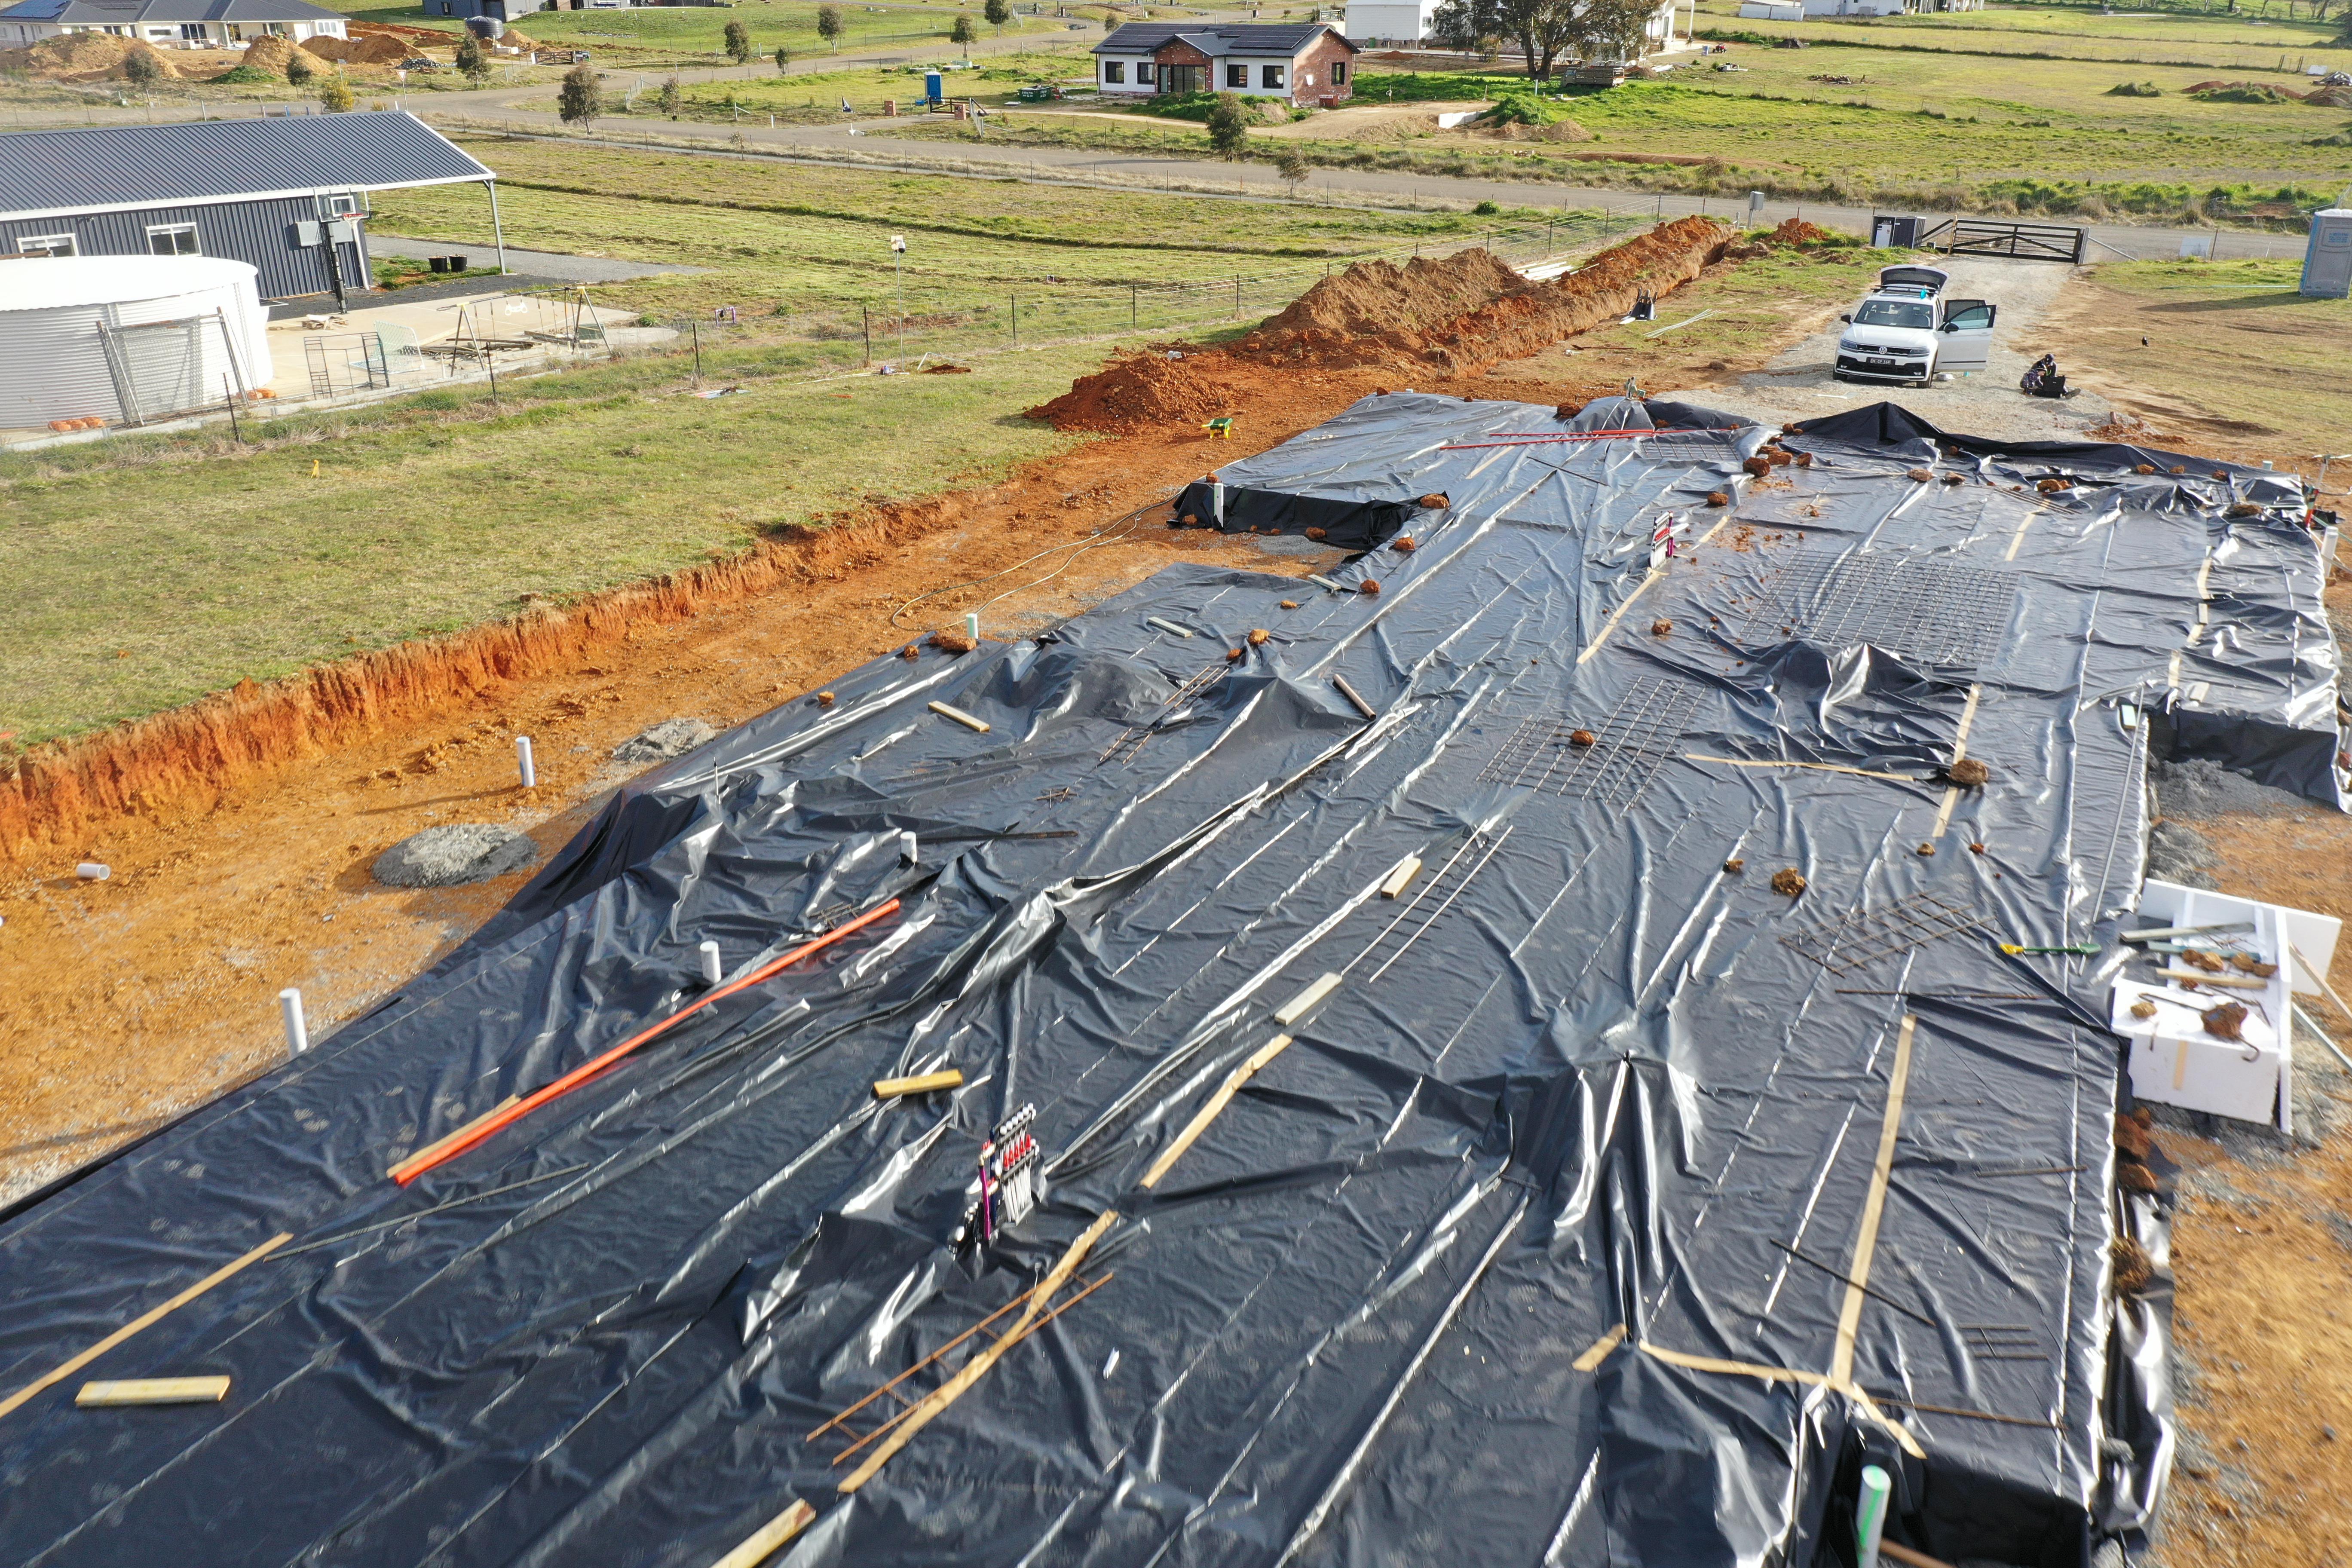
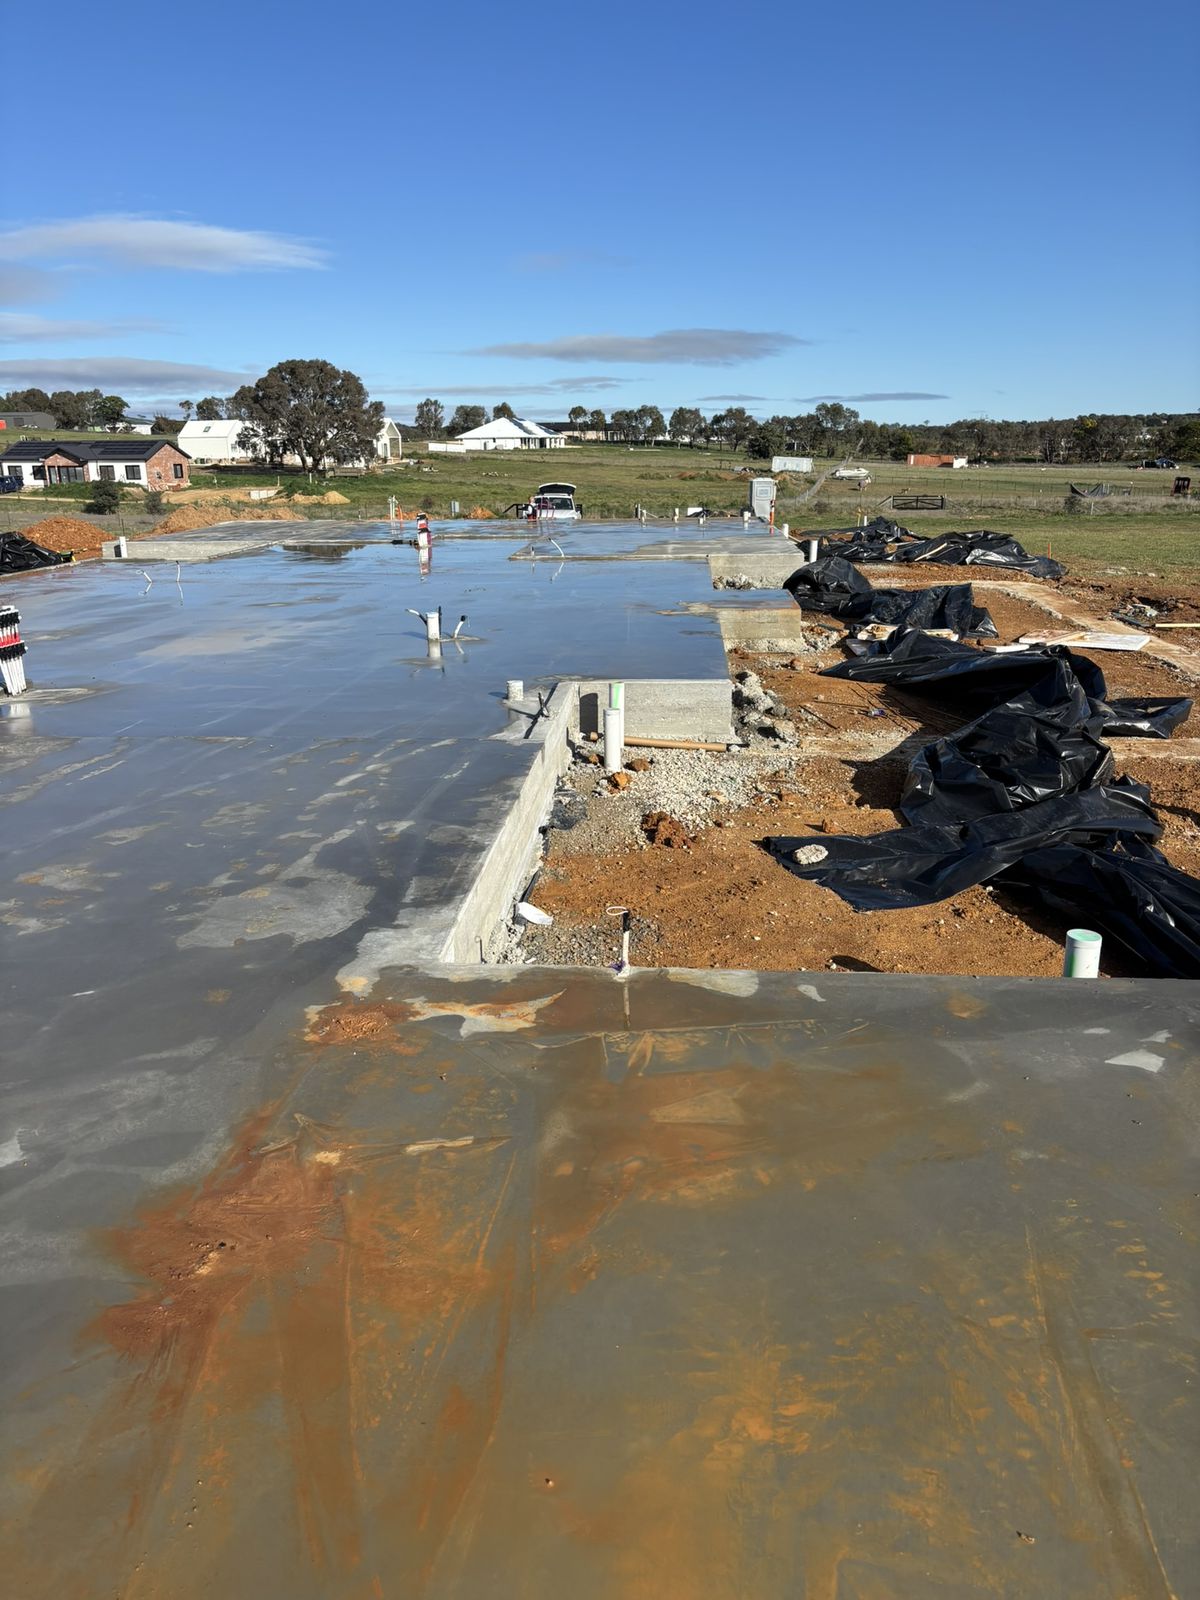
After being protected for 11 days, this is what it looked like after I removed the wrapping; it’s pretty much perfect.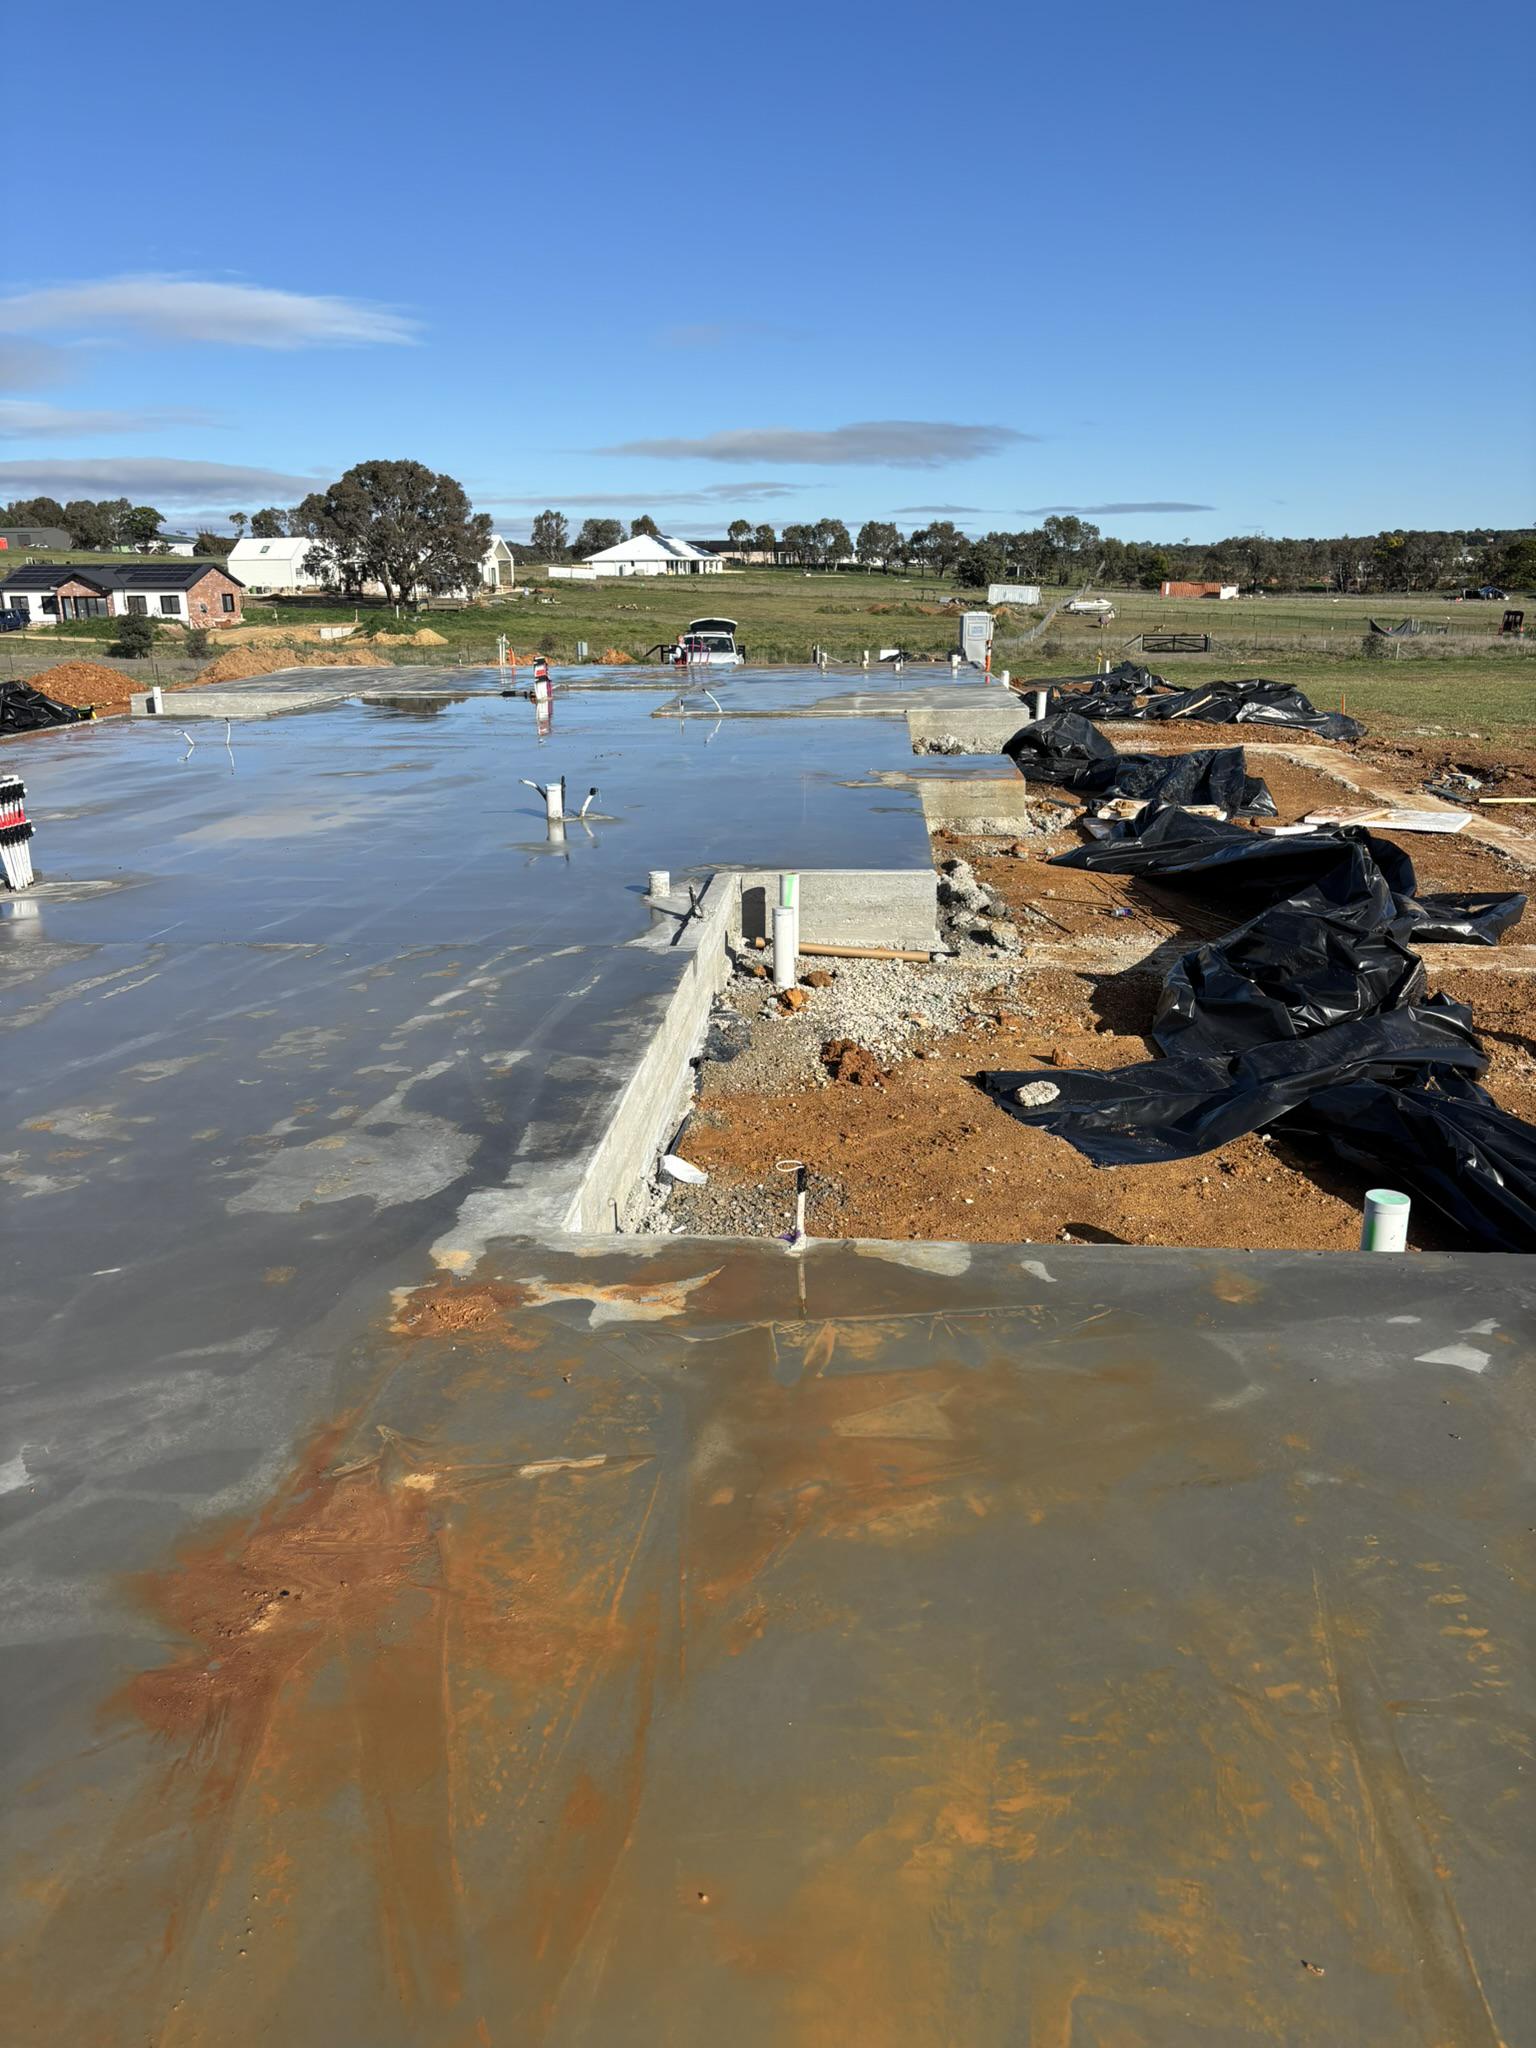
Image Gallery